In Core Keeper, bosses aren’t just big health bars with bad tempers—they’re integral milestones in your subterranean adventure. These towering (and often terrifying) foes serve as both gatekeepers and guides, marking your progress as you unravel the mysteries of the Core. Each one brings new mechanics, new challenges, and new loot, and none of them go down easy.
By the time you’re ready to face your third major boss, you’ve already squared off with a bouncing blob and outrun a giant worm. But the next threat? It’s a little more… fiery. And a lot more dangerous.
In this guide, we’ll walk you through exactly how to find Malugaz the Corrupted, how to summon him, what gear to bring, and how to avoid becoming barbecue during the battle.
How to Find Malugaz the Corrupted
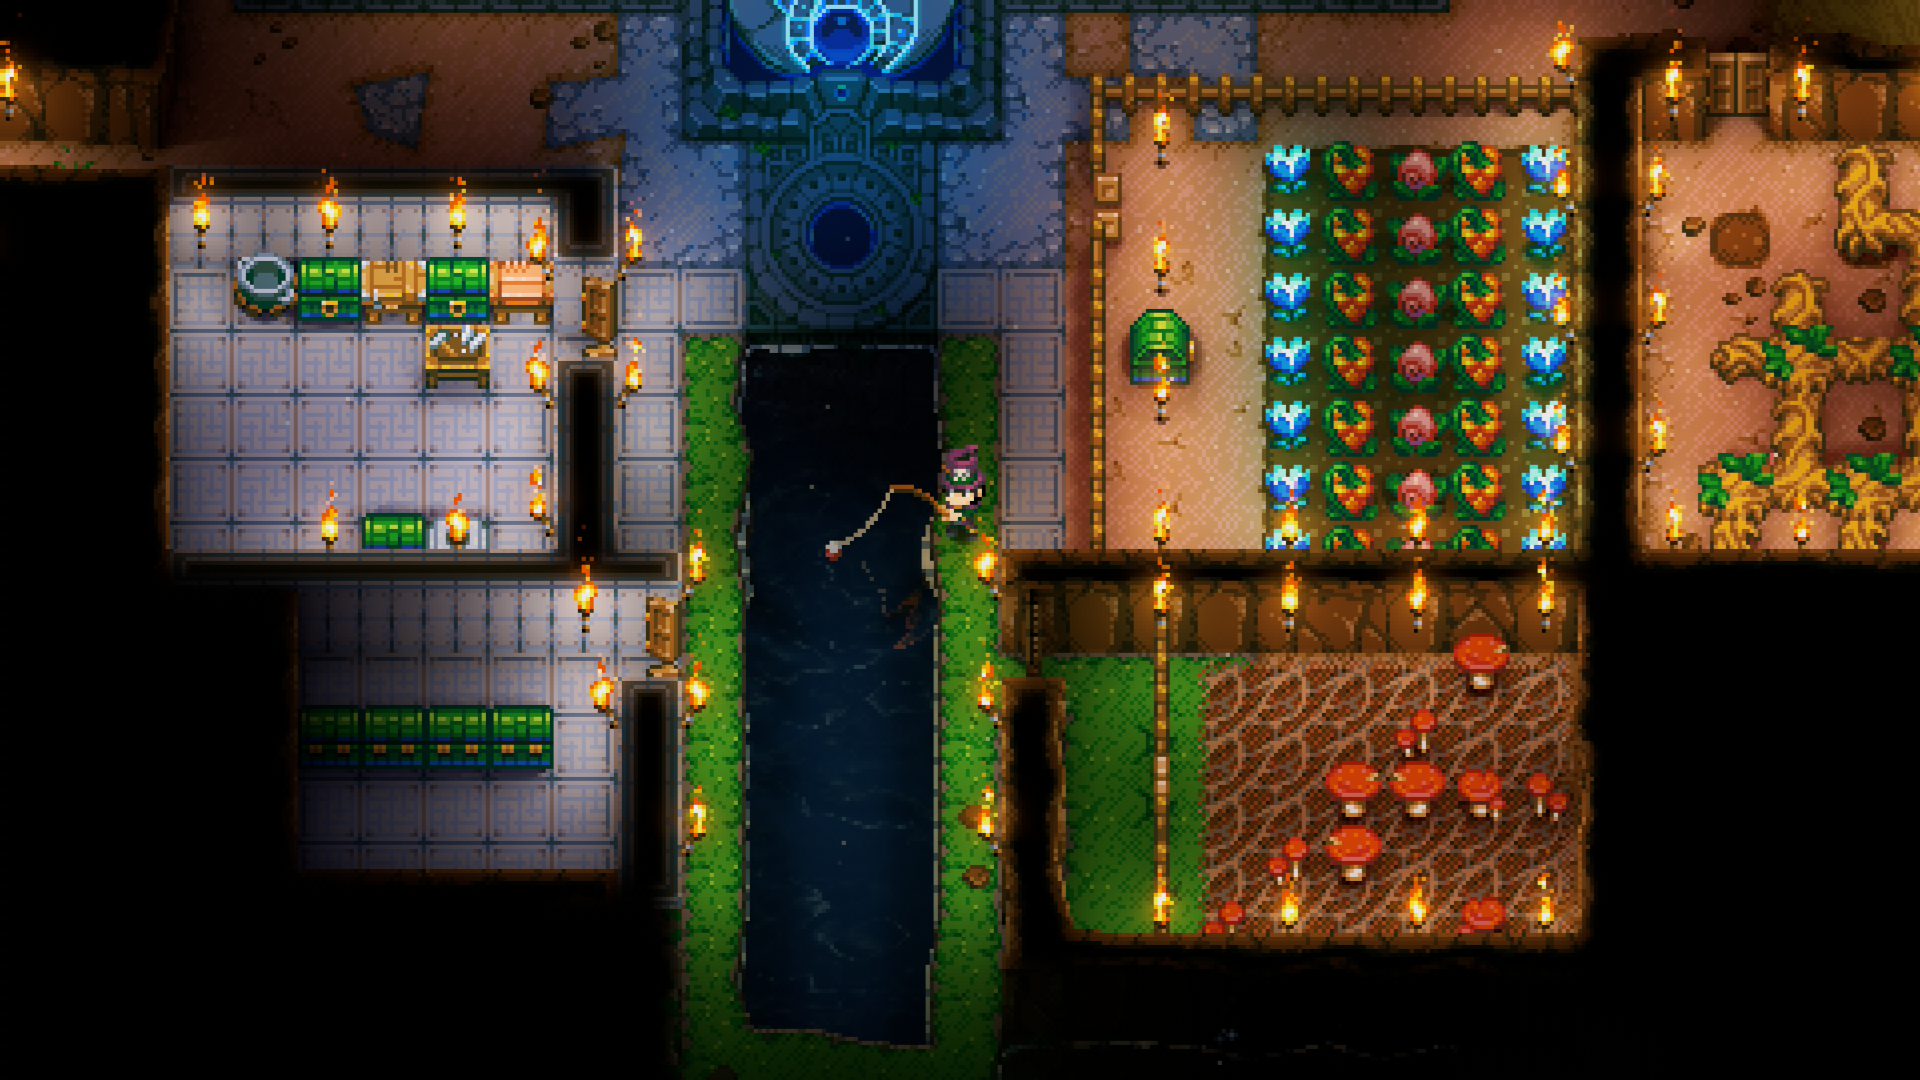
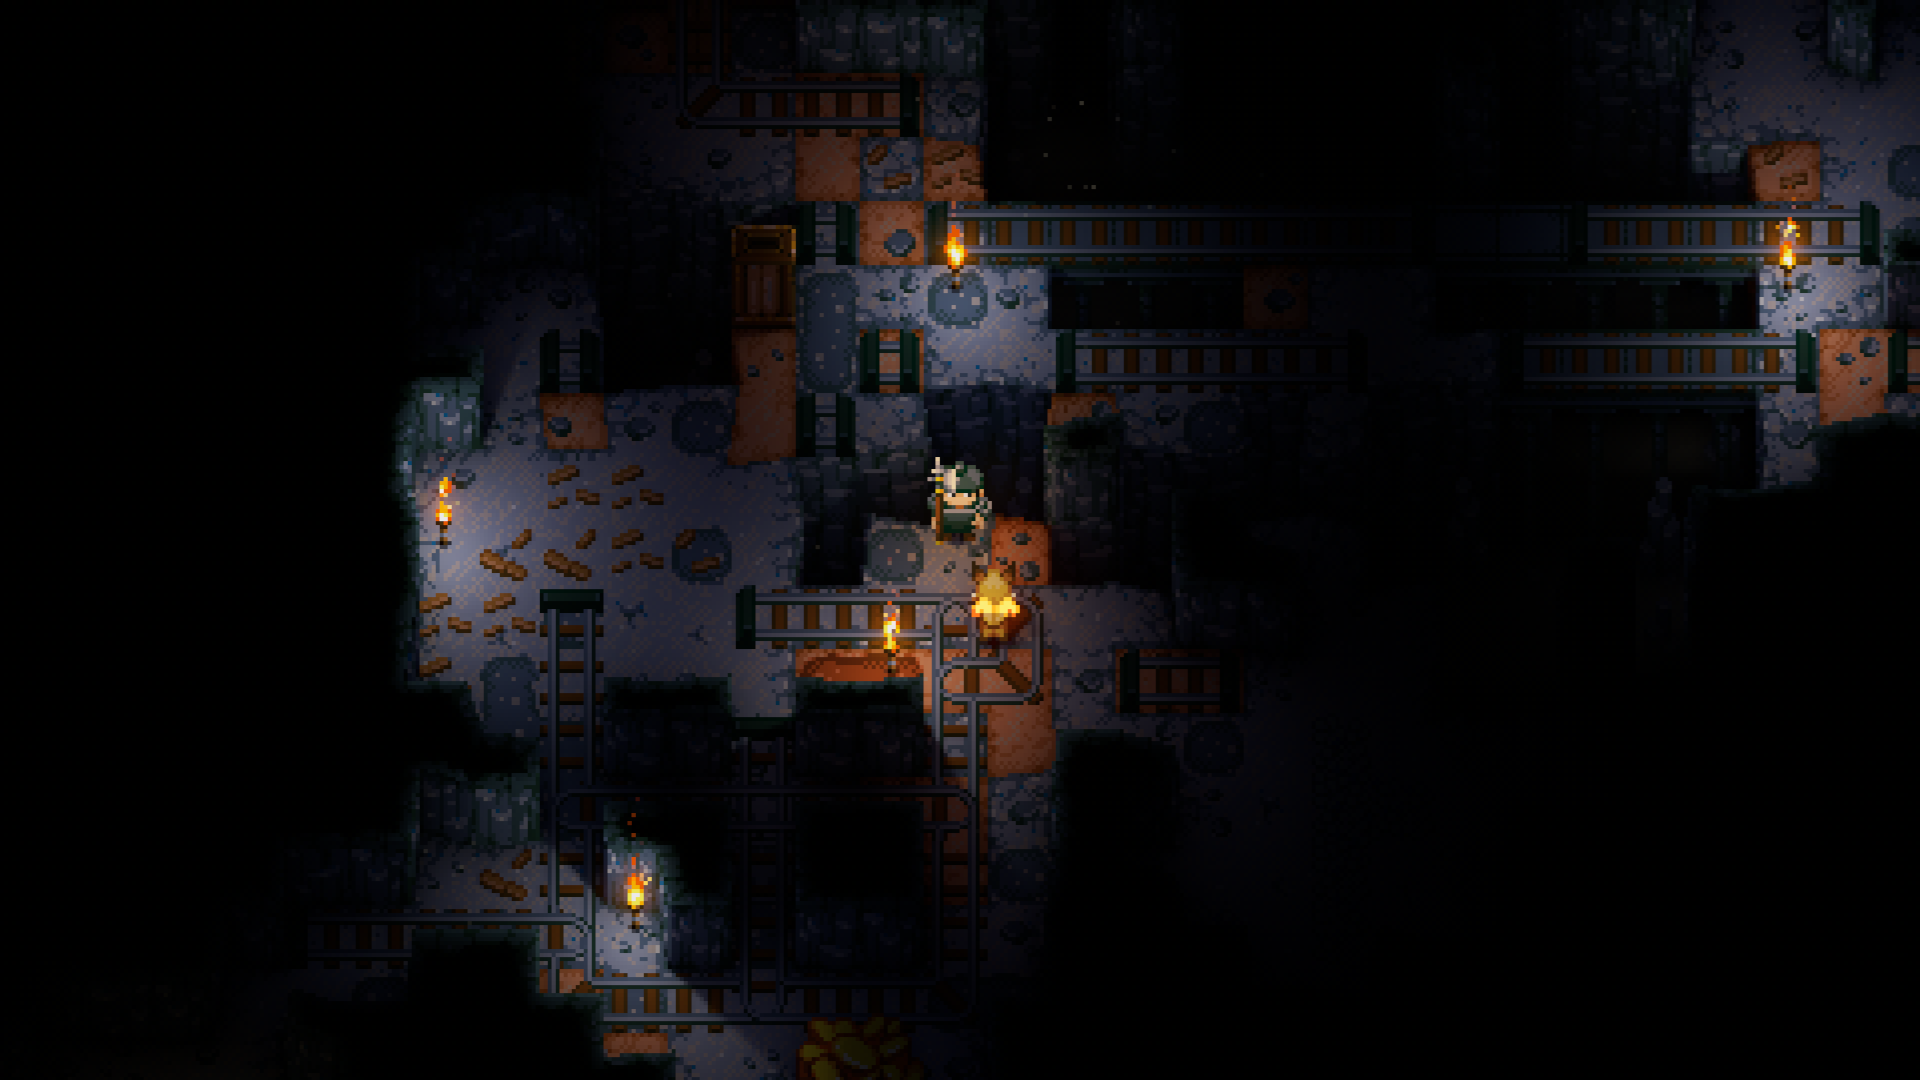
Reaching Malugaz is a bit more complicated than your average boss hunt in Core Keeper. Unlike Ghorm or Glurch, Malugaz doesn’t spawn into the world automatically—you’ll need to do a little dungeon diving first.
To begin, craft a Malugaz the Corrupted Scanner at Glurch’s statue back at The Core. This will reveal the Caveling Throne Room on your map.
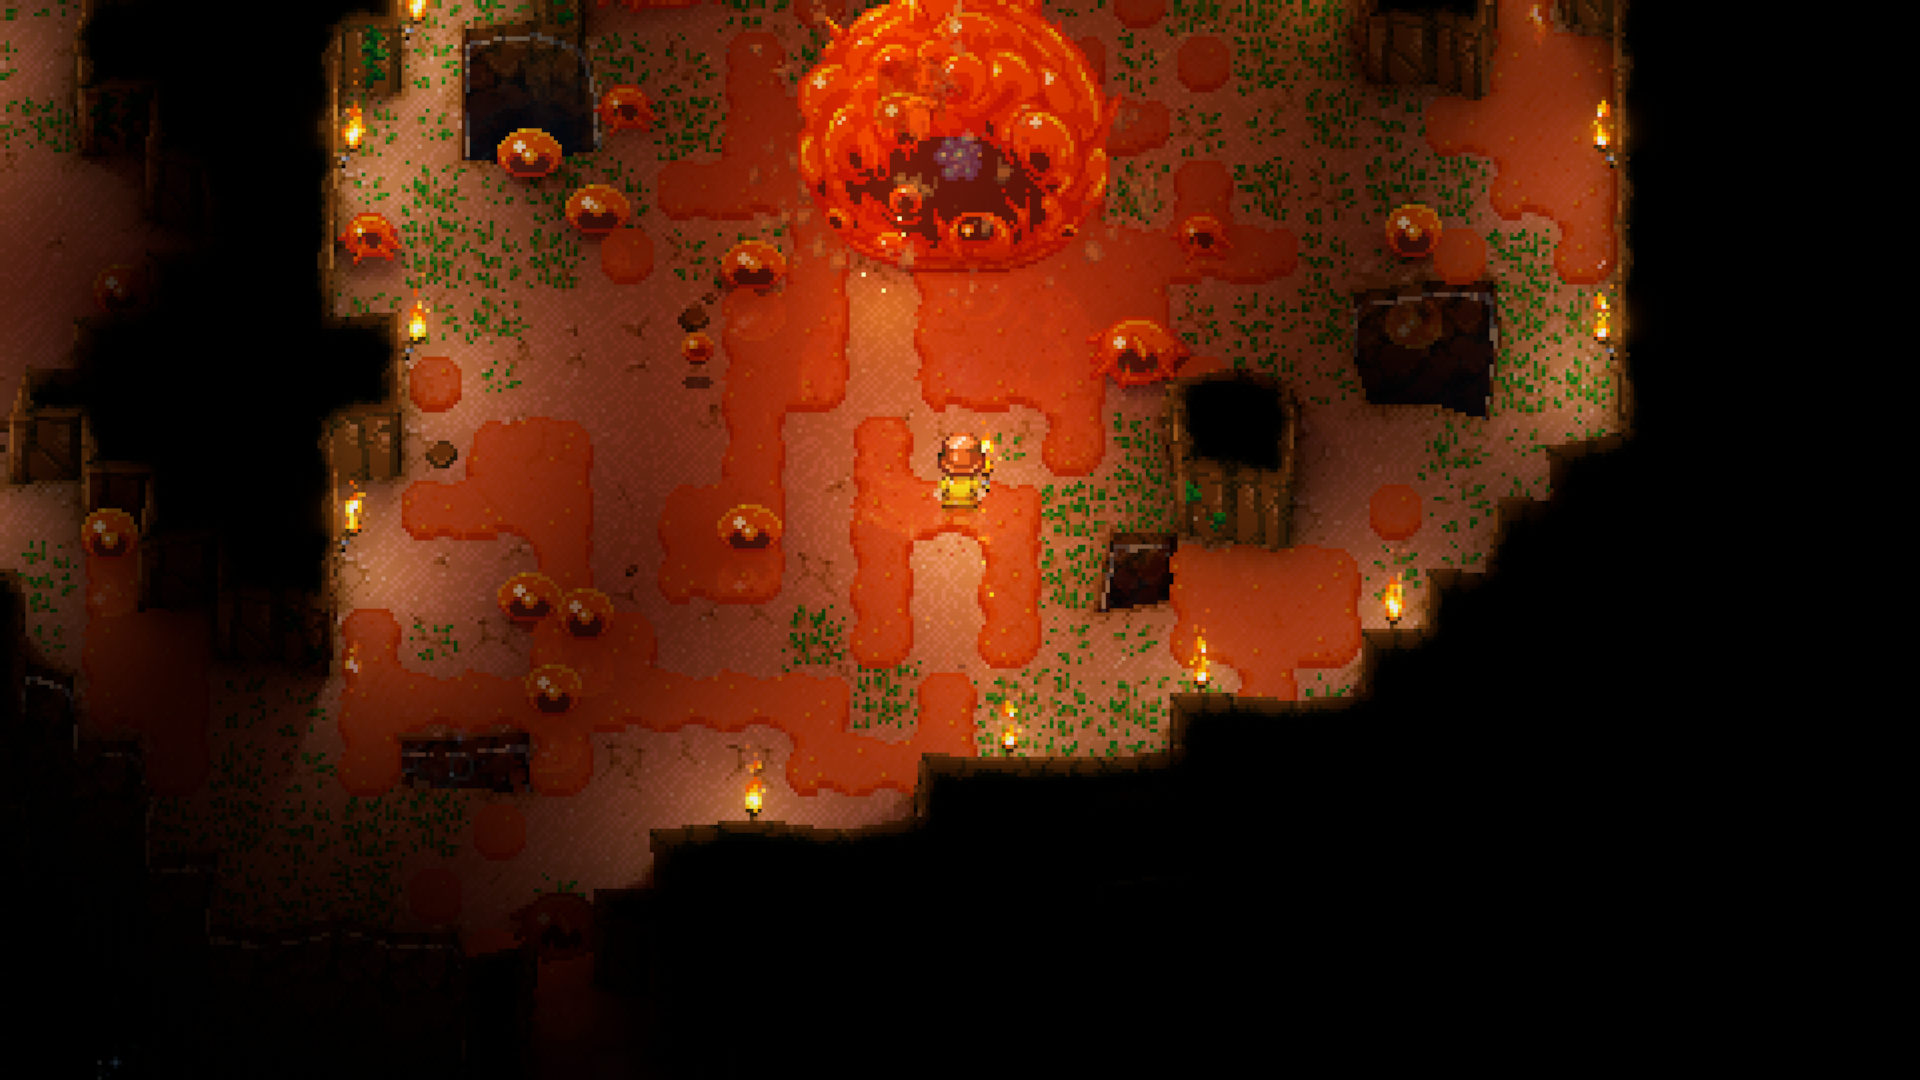
The throne room is tucked away in the Forgotten Ruins biome (according to the wiki, it’s roughly 300 tiles out from The Core). It’s not a straight path either—the room is found within a maze-like dungeon teeming with aggressive Cavelings.
To get inside, you have two options:
- Use Drills (like a Crude Drill) to break through the Maze Blocks protecting the outer wall (these blocks are too tough for early-game tools).
- Find the entrance manually by carefully digging along the outer edges until you discover an opening.
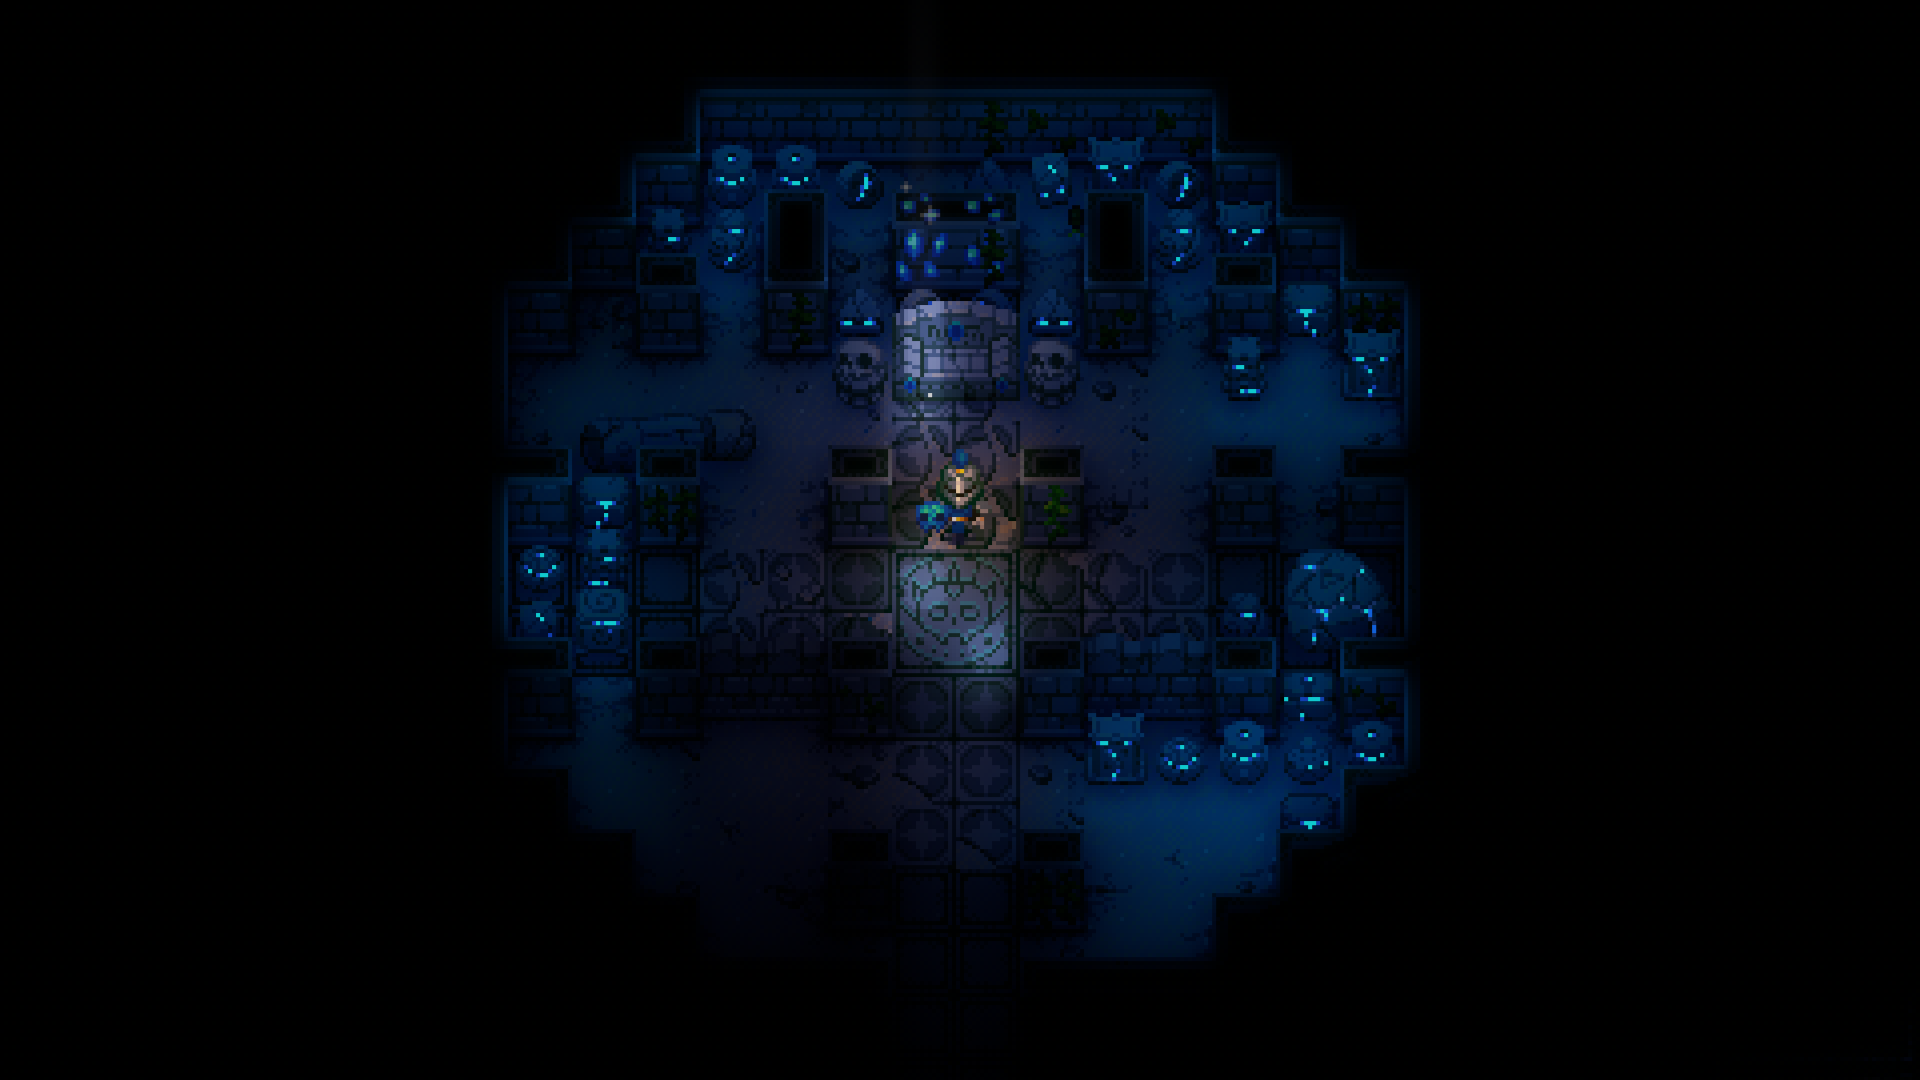
Once inside, explore the winding halls while keeping an eye out for a narrow, easily-missed passage that leads to the center of the dungeon. That’s where you’ll find Malugaz’s Throne Room.
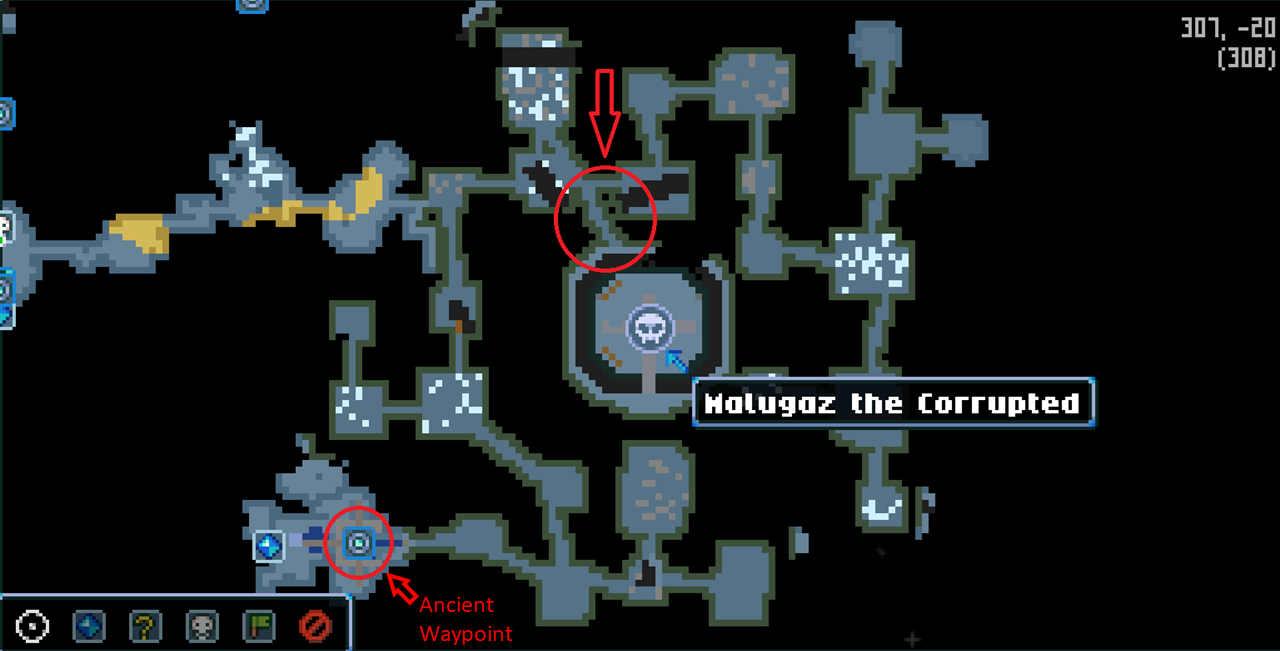
Pro tip: If you come across the Ancient Waypoint, activate it. It’ll save you tons of time by letting you teleport between The Core and the dungeon entrance—especially handy if you need to restock, regroup, or respawn.
How to Summon Malugaz the Corrupted
Finding Malugaz’s chamber is only half the battle—he doesn’t show up until you summon him yourself.
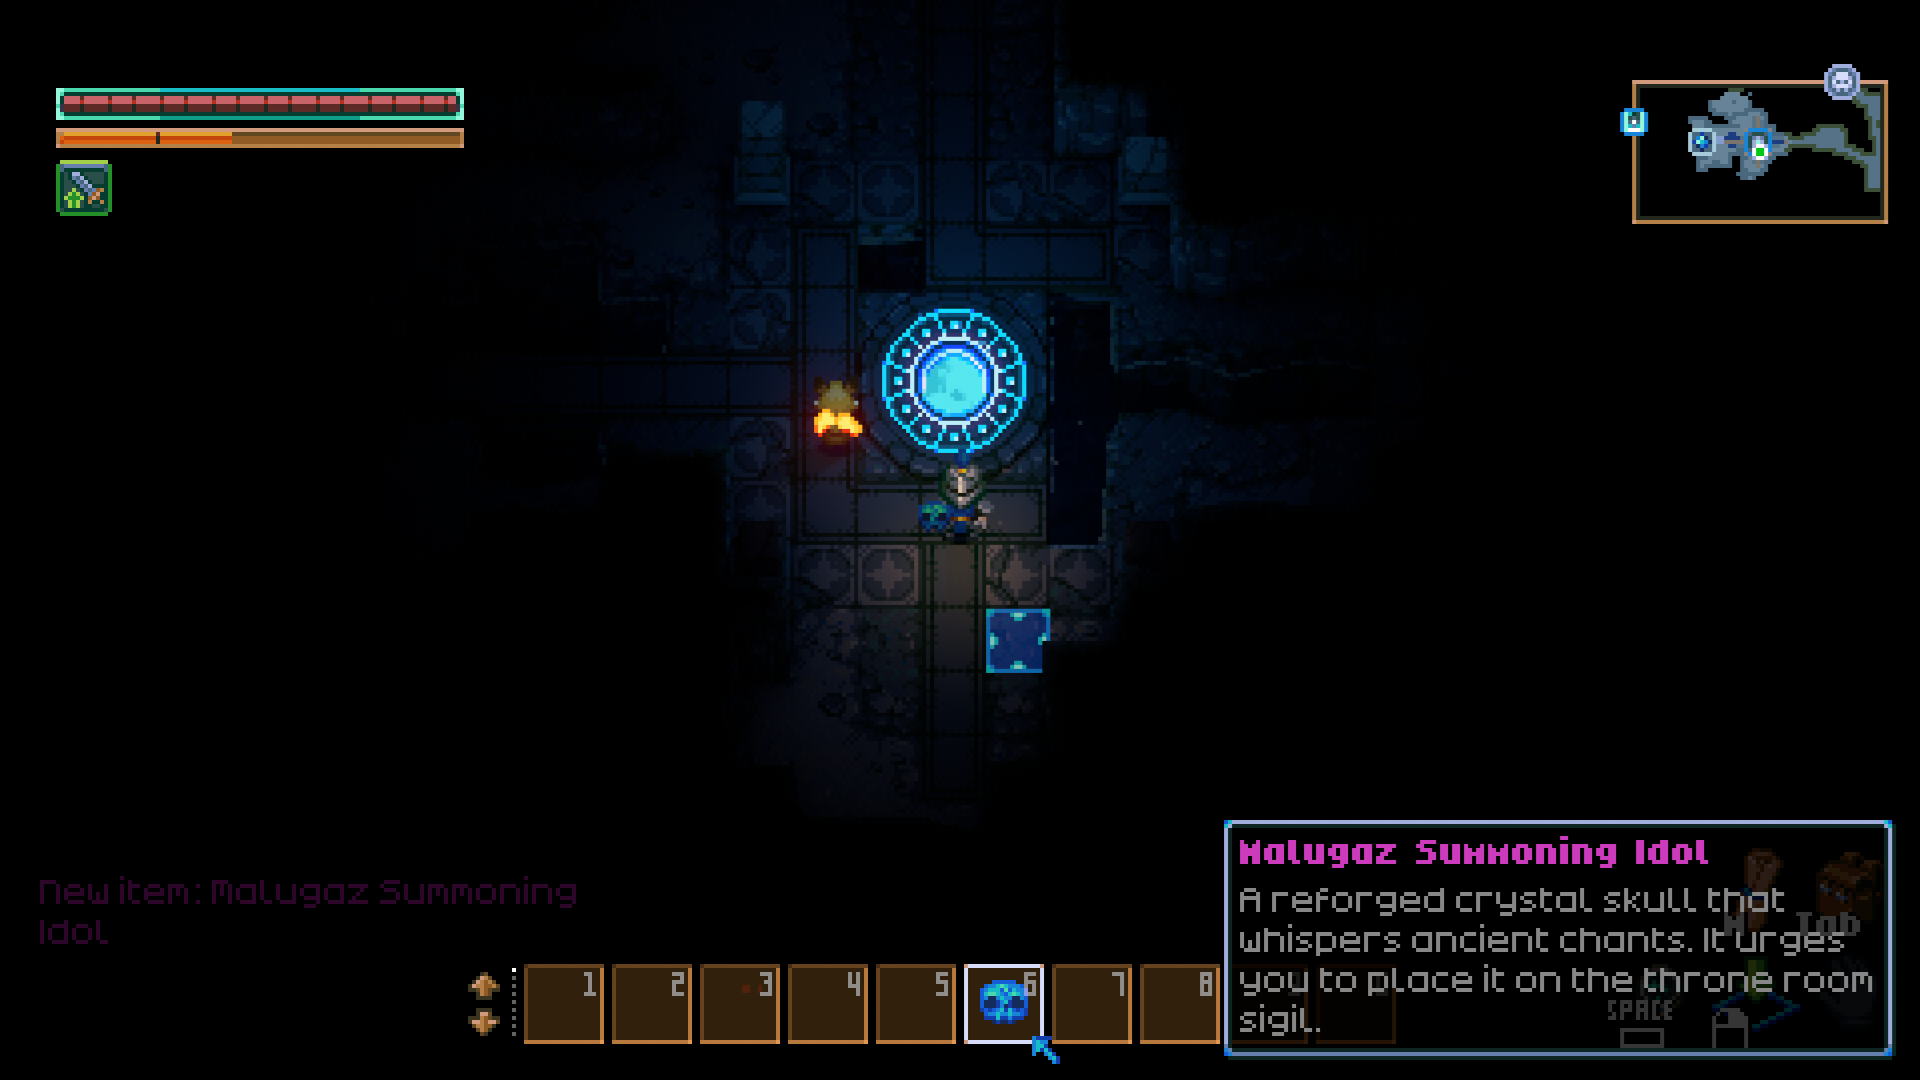
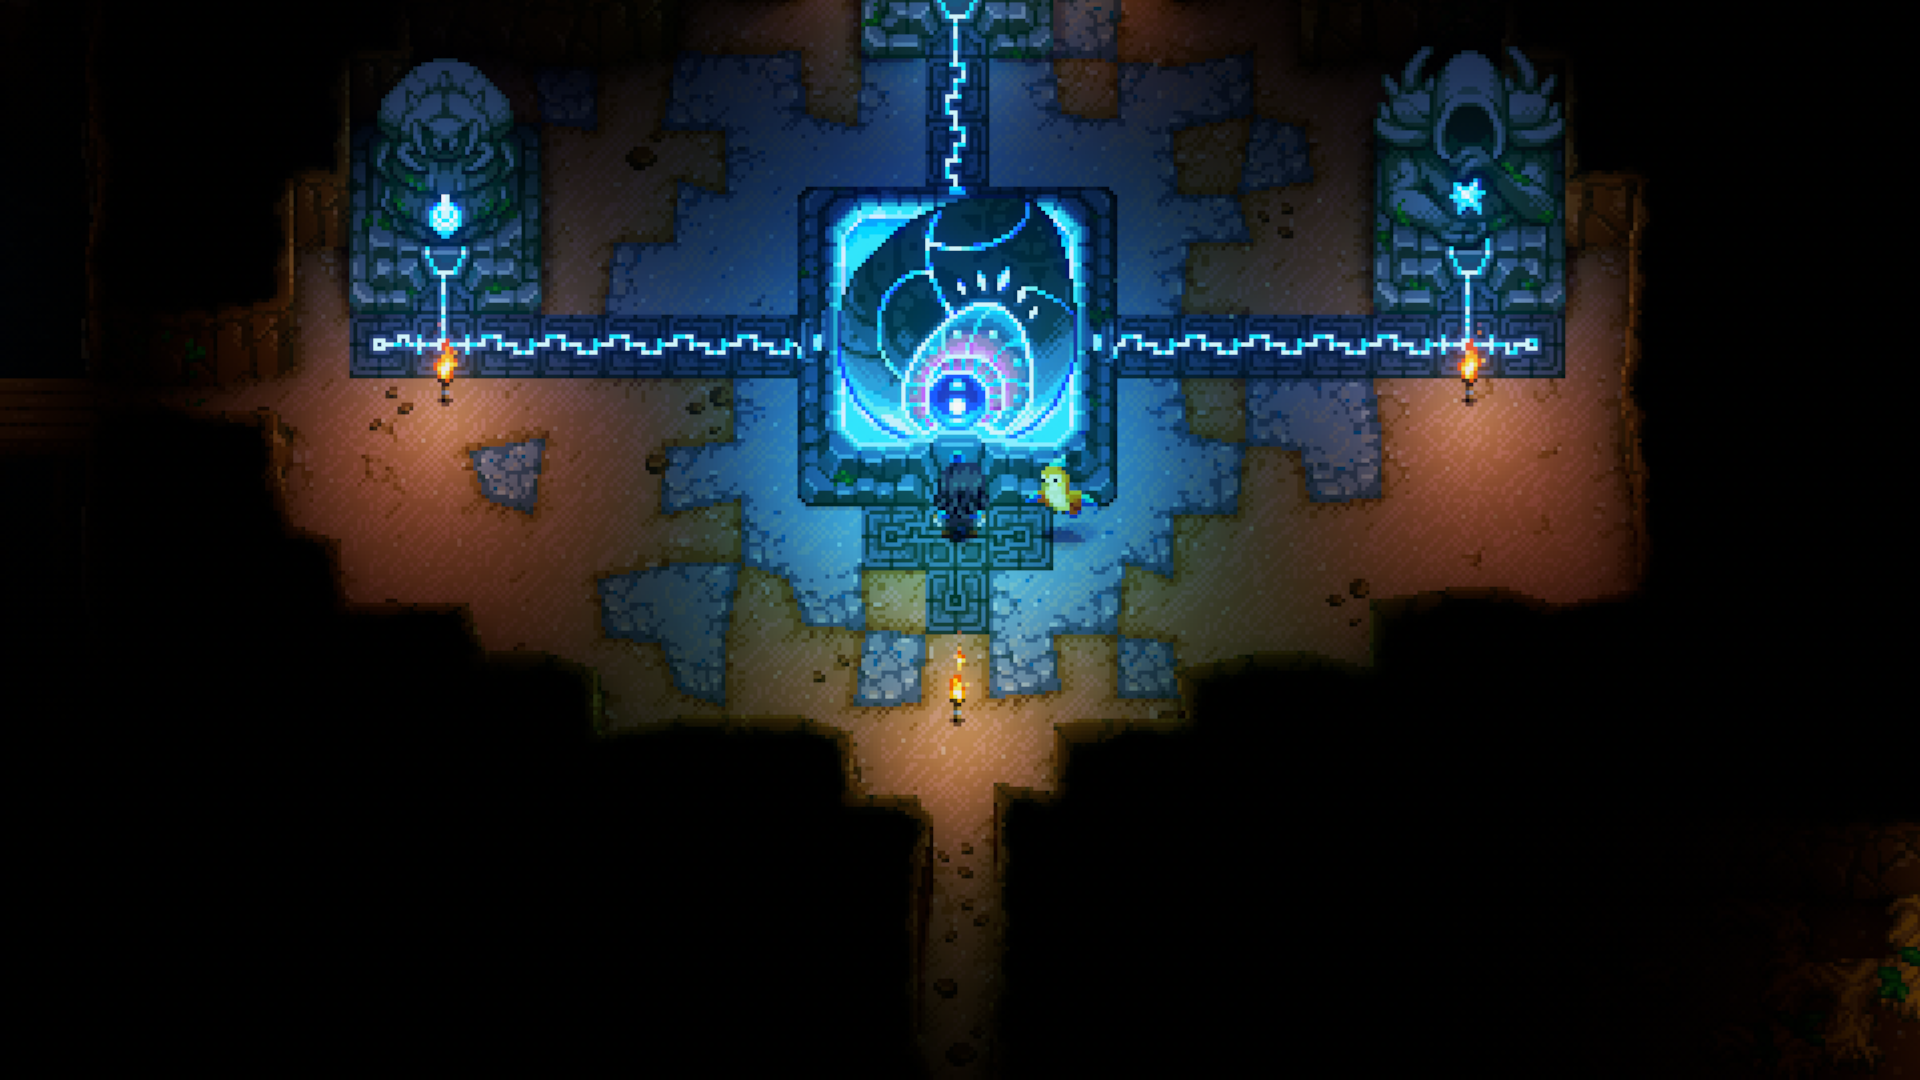
To do that, you’ll need to collect Crystal Skull Shards, which can be obtained by defeating Cavelings or breaking Ancient Crates scattered throughout the Forgotten Ruins. Once you’ve gathered three shards, simply right-click with them in your hand to craft a Malugaz Summoning Idol.
Then, when you’re ready for the fight, place the idol on the summoning circle in the center of the Throne Room.
Best Gear & Builds for Defeating Malugaz the Corrupted
Malugaz is a tricky two-phase boss that demands both survivability and strong DPS. Unlike Ghorm or Glurch, this boss features multiple damage types, so a mix of melee and ranged (or magic) options usually works best. This lets you adapt between aggressive openings and the fast-paced action of his second phase.
Think of these gear suggestions as a helpful guide, not a rigid rulebook. Ultimately, your optimal setup is whatever feels best for you. Feel free to mix, match, or create your own perfect setup!
1. Balanced Build
Offers a strong balance of damage, defense, and critical stats, all craftable and relatively accessible when you’ve reached iron-tier stations.
Armor Set:
- Iron Helm
- Iron Breastplate
- Iron Pants
Weapons:
- Larva Spike Club + Ranged Weapon/Staves
- High melee damage with decent attack speed.
- Swap to ranged or magic when things get hectic.
- Suitable options: Iron Bow, Simple Staff, or Flintlock Musket. The Fireball Staff is also feasible, but be aware that Malugaz is immune to burn damage, so you won’t get its full potential.
- Iron Halberd + Ranged Weapon/Staves
- The Iron Halberd has slightly lower melee damage than the Larva Spike Club, but provides bonus critical hit chance.
- Optional Weapon: Summoning Tomes
- If you already have access to summoning tomes like Tome of Ashes or Tome of the Dark, they can add DPS alongside your main weapon.
Accessories:
- Melee-focused:
- Swift Ring (movement speed)
- Grub Egg Necklace (melee damage)
- Ring of Rock (armor)
- Magic-focused:
- Gold Crystal Necklace / Bubble Pearl Necklace (bonus magic damage)
- Crescent Ring + Glow Tulip Ring (mana/regen bonuses)
- Ranged-focused:
- Blob Rosary Necklace + Melting Crystal Ring + Gold Crystal Ring (bonus ranged damage)
Pets:
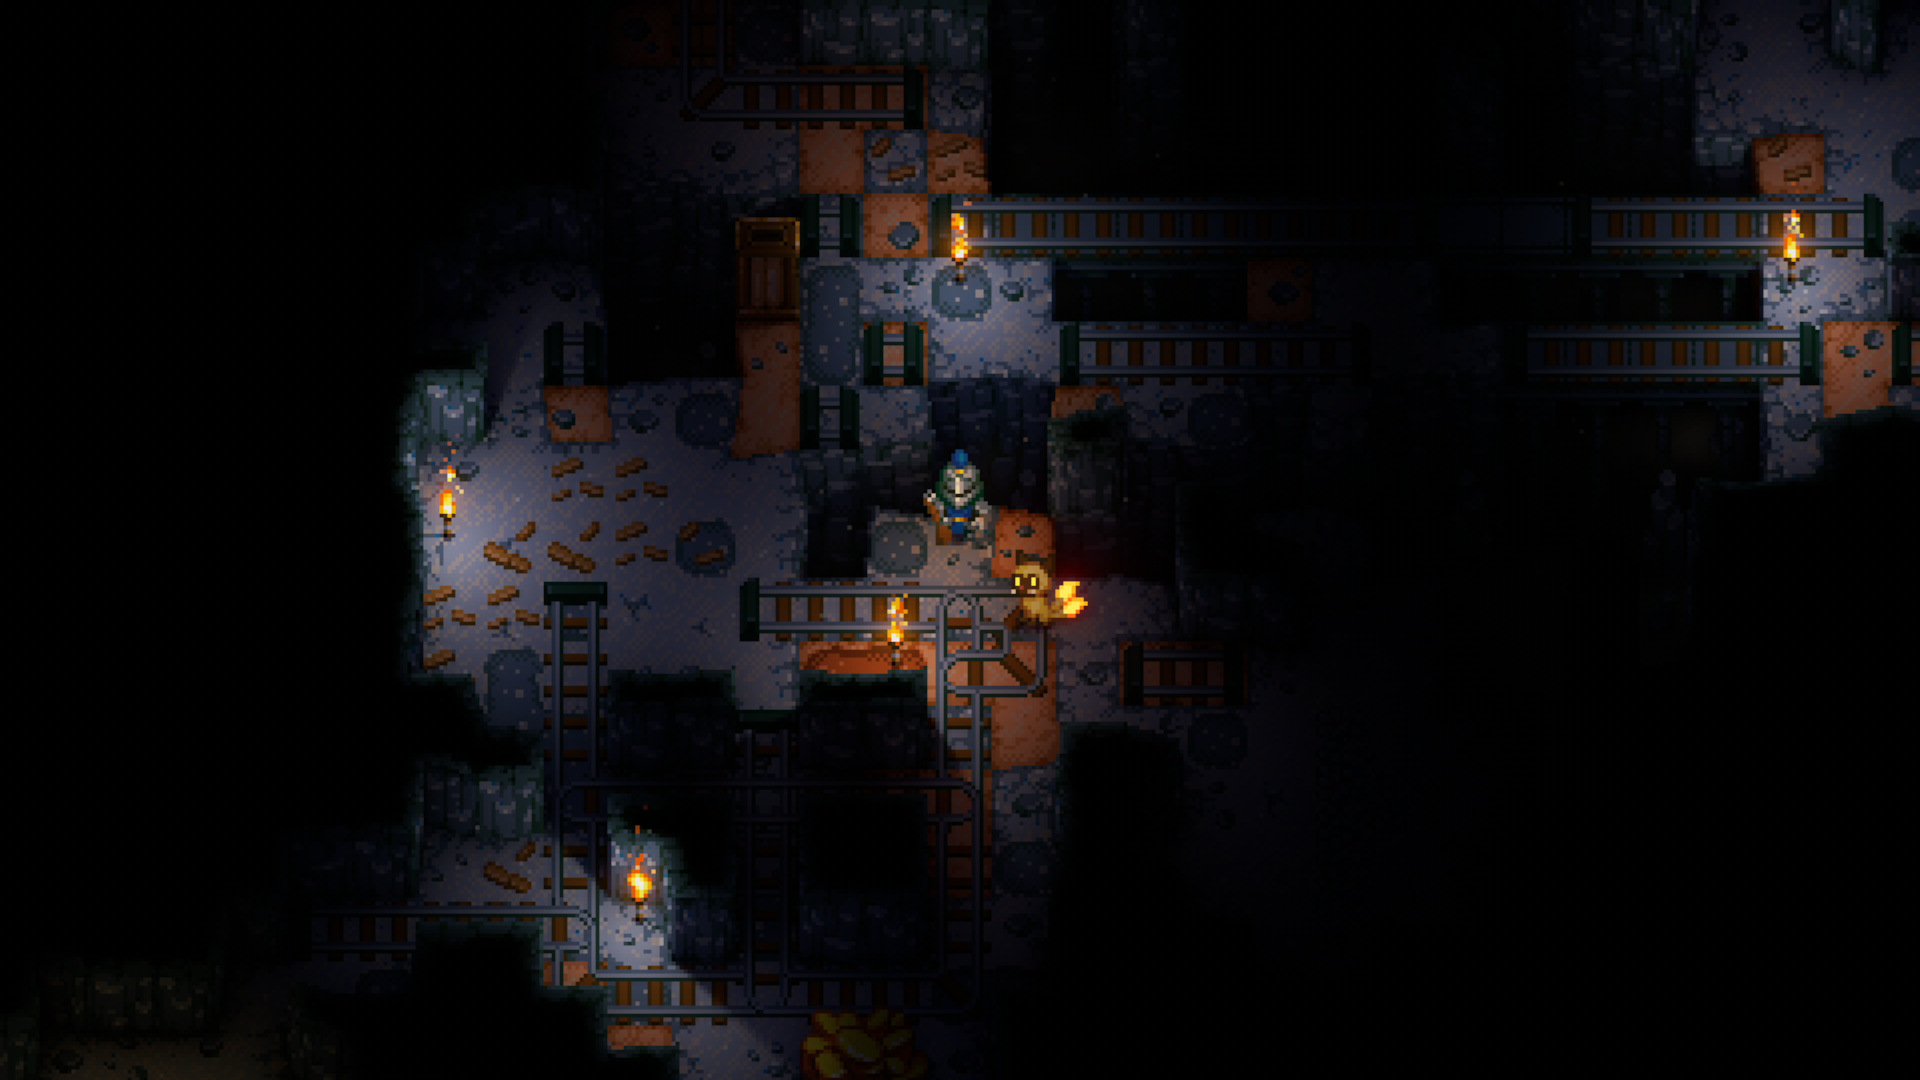
- Embertail – Best overall pick for this fight
- Deals crit and bonus boss damage
- Burn effect won’t work on Malugaz, but raw DPS still helps
- Recommended skill points: Breaking Skin, Asserting Dominance, Laser Pointer Play
- Subterrier
- A good alternative to Emtertail.
- Stun doesn’t work on Malugaz, but still adds decent damage.
- Recommended skill points: Laser Pointer Play, Breaking Skin, Puffing Up
- Owlux
- Doesn’t deal any damage on its own, but buffs owner with a variety of buffs ranging from movement speed to critical damage.
Recommended Consumables:
- Gooey Pepper Wrap – Crit chance, regen, movement speed.
- Bomb Pepper + Larva Meat
- Rocky Meat Steak – Melee damage, crit chance.
- Rock Jaw + Larva Meat
- Spicy Jaw Fish Balls – Melee damage, movement speed.
- Bomb Pepper + Rock Jaw
- Rocky Stone Dip Snack – Melee damage, armor
- Carrock + Rock Jaw
- Gooey Stone Dip Snack – Crit chance, armor
- Larva Meat + Carrock
2. Critical Hit Build
For those seeking peak critical hit chance and damage alongside decent armor, this gear combination is ideal—just be aware that finding the necessary pieces can be quite the challenge.
Armor Set:
- Cooking Pot Lid
- Cooking Pot Tub
- Ranger Pants
Weapon:
- Iron Halberd + Ranged Weapon/Staves
- The Iron Halberd provides a crucial bonus to critical hit chance, making it ideal for this build.
- For ranged weapons/staves, the recommendations are the same as those in the Balanced Build (e.g., Iron Bow, Simple Staff, Flintlock Musket).
- Optional Weapon: Summoning Tomes
- Again, it’s best to bring along a Tome of Ashes or Tome of the Dark if you already have access to them.
Accessories:
- Copper Cross Necklace / Fang Necklace (bonus critical hit chance).
- Gold Crystal Ring (bonus ranged damage).
Pet:
- Owlux
- Recommended skill points: Crane Style and Spirit of the Hawk.
Consumables:
- Gooey Pepper Wrap – Crit chance, regen, movement speed.
- Bomb Pepper + Larva Meat
- Rocky Meat Steak – Melee damage, crit chance.
- Rock Jaw + Larva Meat

3. Boss-Killer Build
High survivability and boss-specific damage bonuses. Harder to obtain but extremely effective.
Armor Set:
- Stone Chestplate
- Stone Pants
- Iron Helm
Weapons:
- Larva Spike Club + Ranged Weapon/Staves
- Gives a high, consistent damage when paired with the bonus boss damage from Stone Armor.
- For ranged weapons/staves, refer to the options in the other builds.
- Optional Weapon: Summoning Tomes
- Same as the other builds (Tome of Ashes or Tome of the Dark).
Accessories:
- You can either follow the recommendations from the Balanced Build or the Critical Hit Build.
Pets:
- The same pet recommendations apply as for the Balanced Build (Embertail, Subterrier, or Owlax all work well here).
Consumables:
- Rocky Meat Steak – Melee damage, crit chance.
- Rock Jaw + Larva Meat
- Spicy Jaw Fish Balls – Melee damage, movement speed.
- Bomb Pepper + Rock Jaw
- Gooey Pepper Wrap – Crit chance, regen, movement speed.
- Bomb Pepper + Larva Meat
Universal Items and Equipment (Bring These Regardless of Build):
Off-hand:
- Swift Feather – Decent mobility with dash skill.
- Rift Lens – Greater mobility with teleport skill, while also providing bonus magic damage.
Potions:
- Healing Potion
- Enrage Potion (bonus melee damage)
- Keen Potion (bonus ranged damage)
- Arcane Potion (bonus magic damage)
- Pact of Power Potion (bonus minion damage)
How to Fight Malugaz the Corrupted
Malugaz the Corrupted is a significant step up in Core Keeper’s early game, especially on Hard Mode. His two distinct phases and varied attack patterns demand good movement and a flexible combat approach. These tips and strategies will help you survive the flames—and dish out enough damage to bring him down.
Note: This fight was recorded in Hard Mode. Players on Normal Mode can expect a faster and slightly easier battle. Also, forgive the misfires—I was a bit rusty with the musket.
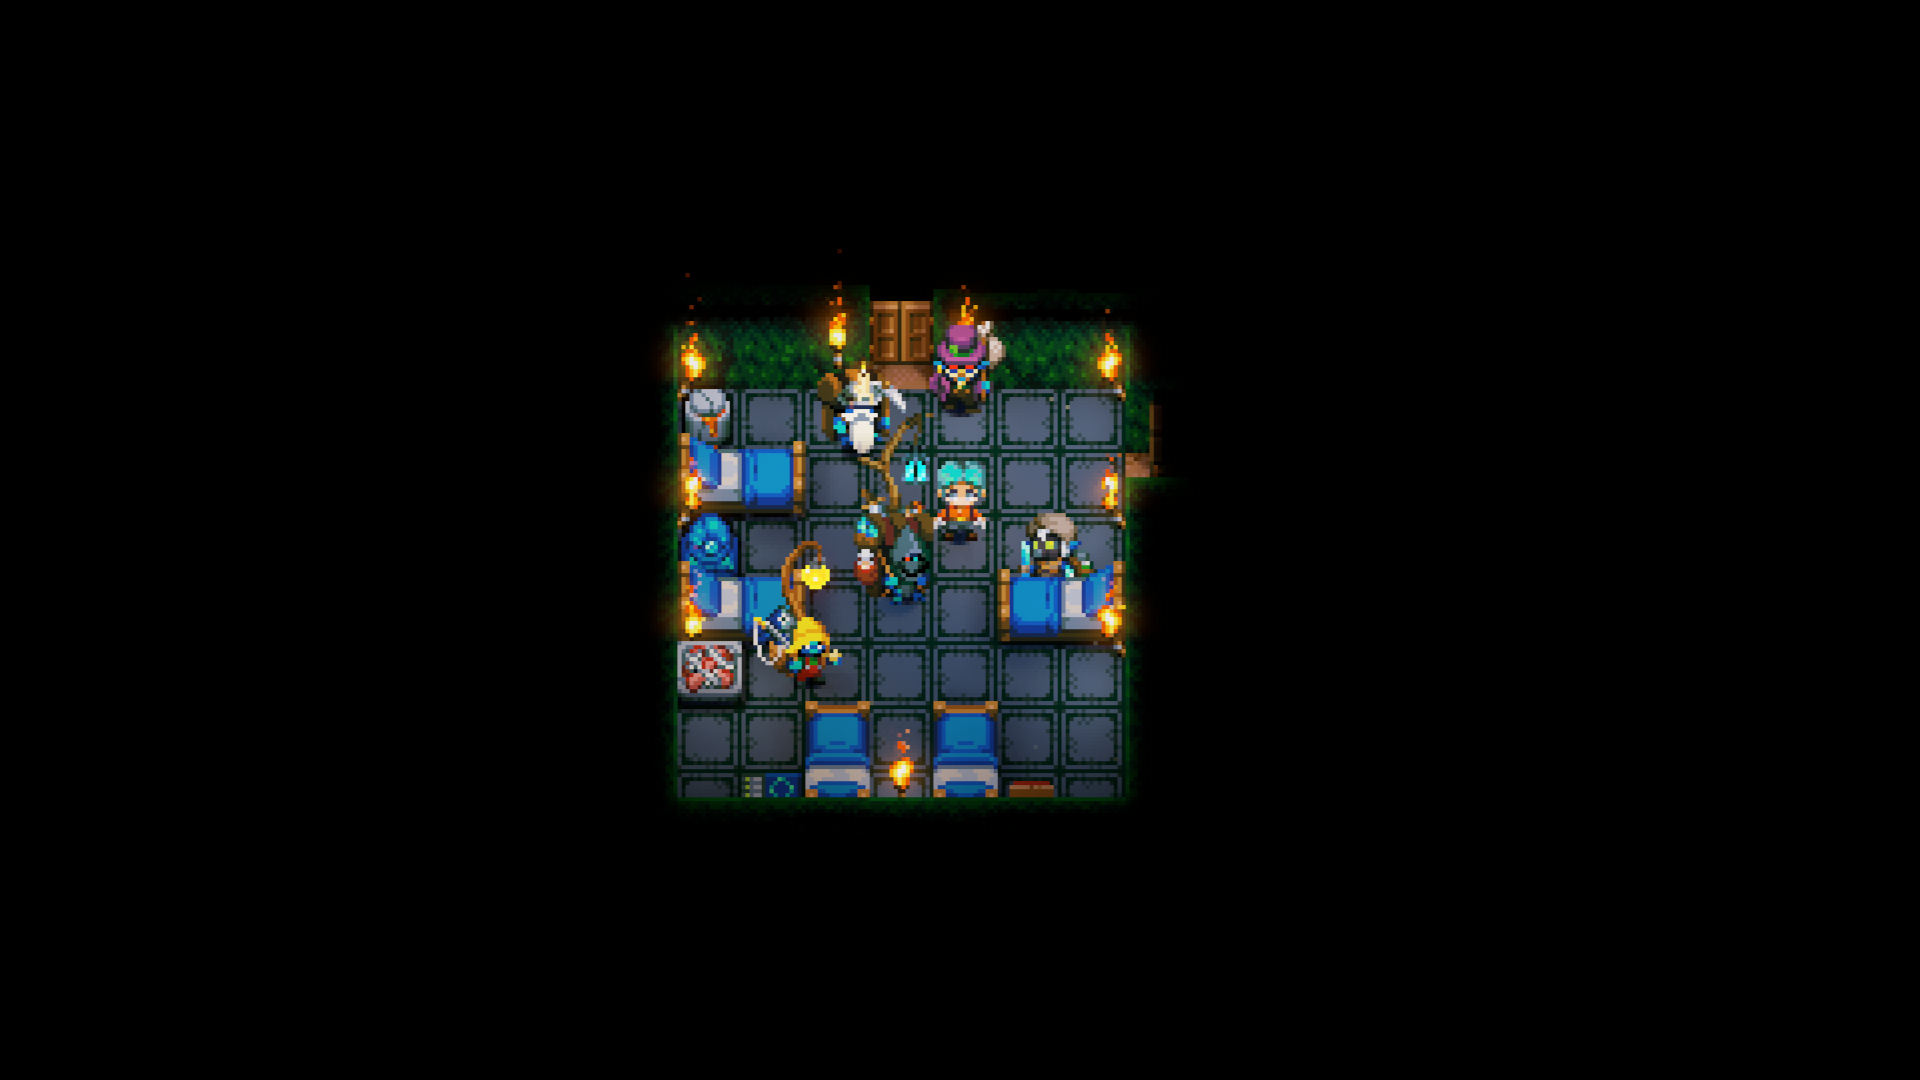
Before the Fight:
- Clear the arena of all obstacles like pillars, chests, and clutter.
- You can’t destroy the outer walls, but you can break the inner ring to create more space to move around safely.
- Place the Malugaz Summoning Idol on the center summoning circle.
- During the short delay before Malugaz appears:
- Consume all buff foods and potions.
- Summon your minion if using a summoning tome.
Phase 1: Ground Flames and Fireballs
- Malugaz will:
- Teleport around the arena.
- Summon lingering flames on the ground (causing contact damage and burn DoT).
- Throw fireballs, sometimes up to 2 or 3 in succession.
- Tanking the flame damage is manageable with Healing Potions and regen food—don’t hesitate to walk over them if needed.
- Hit Malugaz with melee attacks while he’s casting (look for him standing still with arms raised). Be sure to continuously move around him in circles to avoid the fireballs he might cast afterwards.
- Switch to ranged weapons/staves when there’s too much fire on the floor or if you’re low on health.
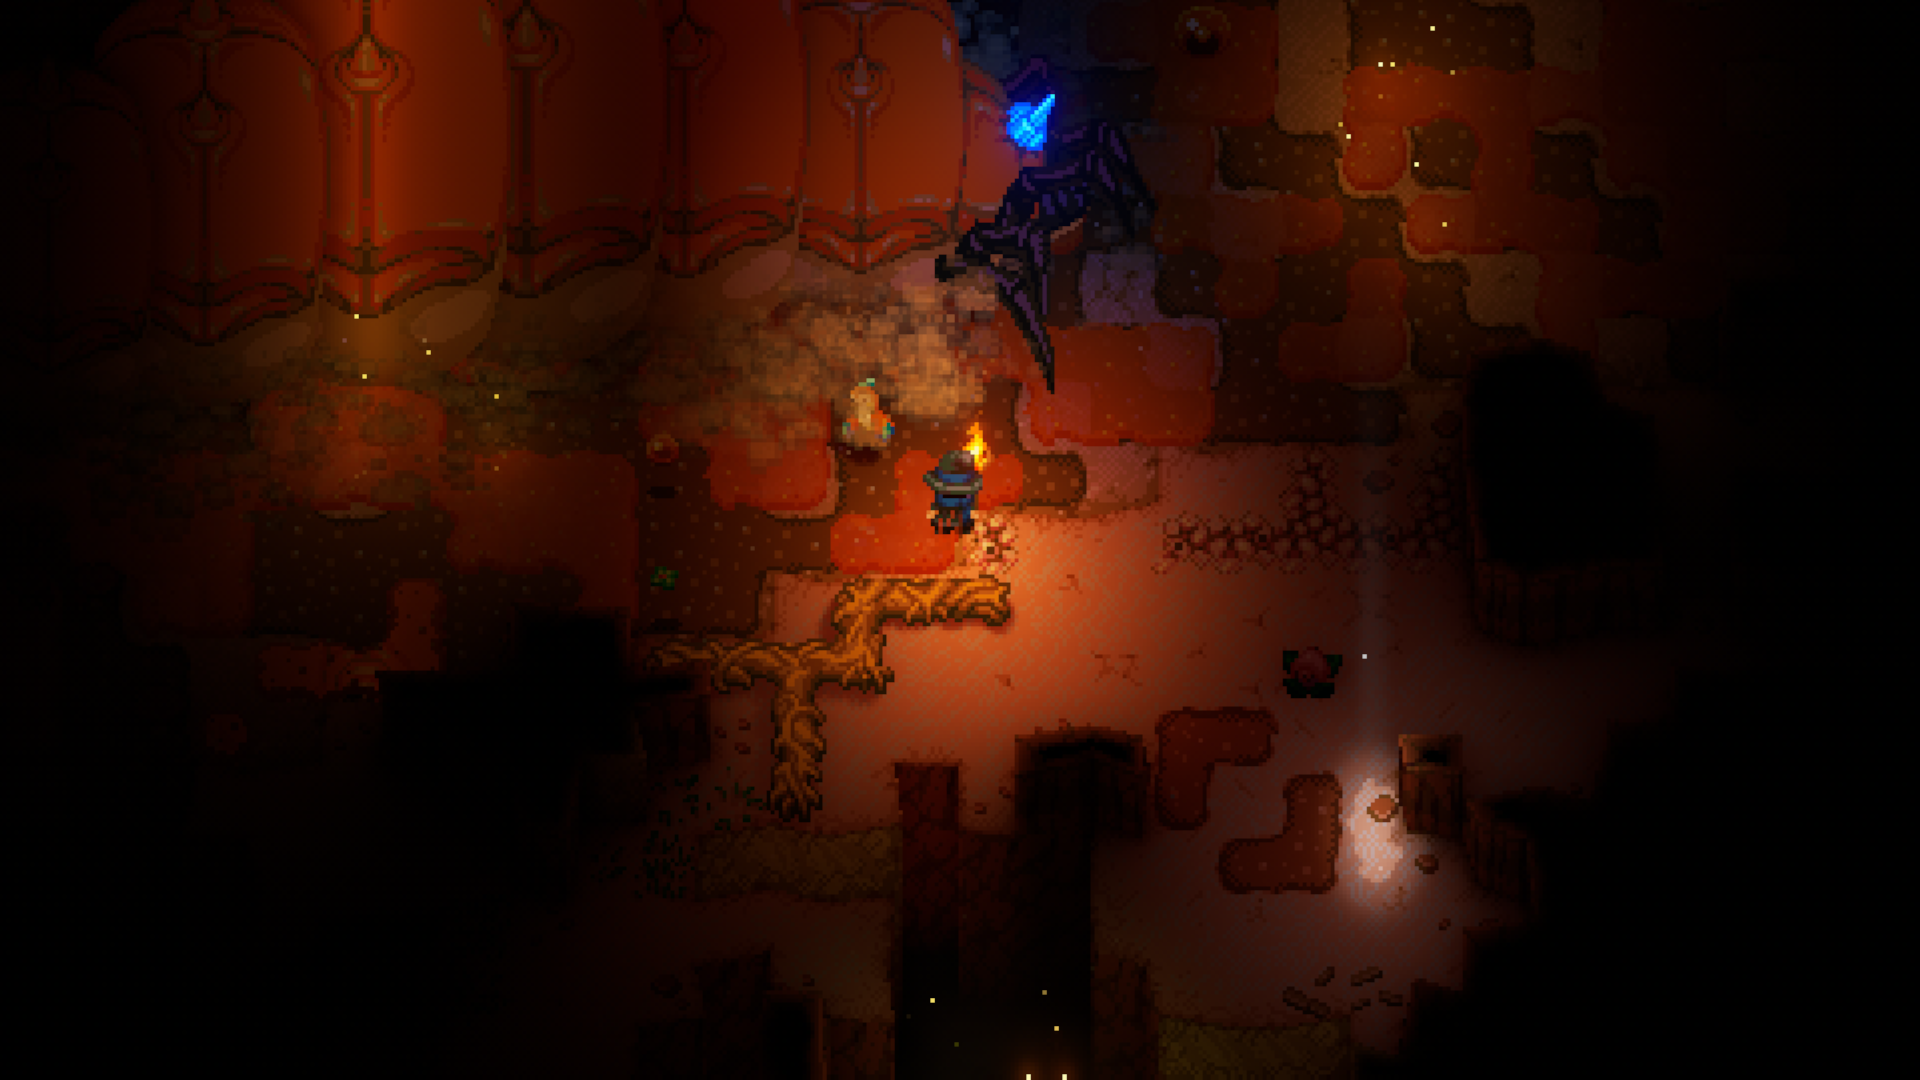
Phase 2: Malugaz Reignited
Once reduced to 0 HP, Malugaz will fully restore his health and enter Phase 2.
- New primary attack:
- Charges at the player, slamming the ground and creating a 2×3 trail of lingering flames.
- Teleports more frequently.
- Melee is still viable, but ranged options are generally safer here.
- Use your off-hand Swift Feather or Rift Lens to dash or teleport out of danger while maintaining pressure.
- Keep an eye on your health, kite his charges, and deal consistent damage from a distance.
Pro Tip: Avoid the Reset
If all players die during Phase 2 or leave the arena far enough, Malugaz will disappear and will require a new summoning idol to begin the fight again.
To prevent a full restart:
- Place a bed just outside the arena before the fight.
- Set it as your spawn point so you can return to the arena quickly whenever you’re defeated.
Aftermath: The Fall of Malugaz—and the Road Beyond
Congratulations—you’ve just knocked out Malugaz the Corrupted, the third and final boss standing between you and the rest of Core Keeper’s sprawling world. That’s a big deal! You’ve officially graduated from early-game!
Your reward? The shiny Stolen Crystal Heart. This isn’t just a fancy name—it’s a key progression item you’ll need to activate Malugaz’s statue back at The Core. Do that, and the mysterious Great Wall at the edge of the starting biomes comes down, unlocking the mid-to-late-game biomes full of new mysteries, enemies, and loot to hoard.
Speaking of loot, you’ll also scoop up the Malugaz Chest, which has a shot at dropping some fantastic goodies. We’re talking skull accessories, the Shaman Skull headgear, and even rare weapons like the Hand Mortar and Arcane Staff.
Conclusion: One Wall Down, a Whole World to Go
And there you have it—Glurch squashed, Ghorm bombed into oblivion, and Malugaz banished back to whatever fiery realm he crawled out of. With all three core bosses defeated, you’ve officially conquered Core Keeper’s early game and reignited The Core’s energy. That Great Wall looming on the edge of the map? It’s ready to come down.
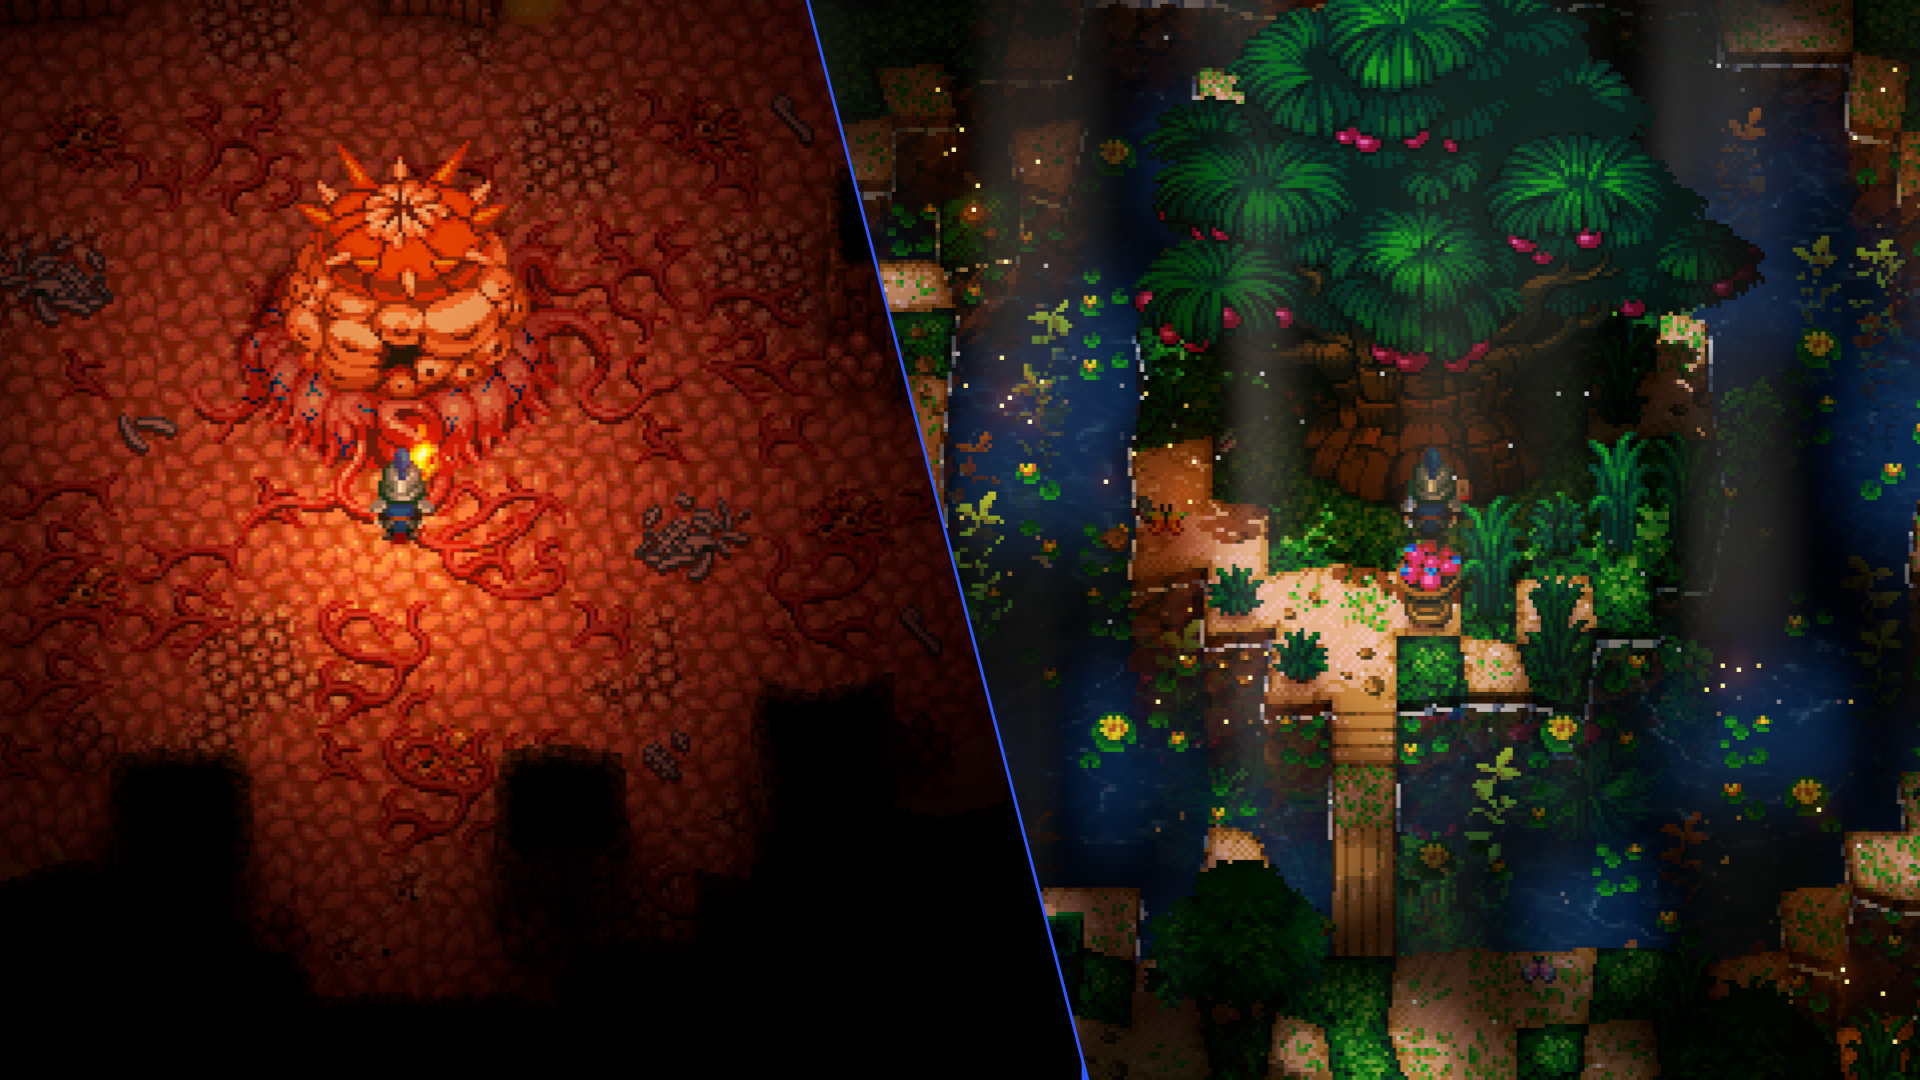
But before you charge off into the mysterious mid-game biomes, there’s one last optional challenge you might want to take on: The Hive Mother. Nestled deep in the Clay Caves’ Larva Hive, this grotesque menace was once a required boss for progression—but after the 1.0 official release update, she’s been bumped to optional status in favor of Malugaz.
Still, don’t write her off—she’s a great way to test your skills, round out your gear, and grab some rare loot before venturing into the wild unknown of Azeos’ Wilderness.
So stock up, double-check your potions, and maybe give your gear another polish—because your adventure in Core Keeper is only just getting started.