In Core Keeper, the world may be charming, but that doesn’t mean it’s short on danger. After taking down Glurch the Abominous Mass, your next big challenge comes in the form of a giant, enraged grub that barrels through the underground like a runaway train: Ghorm the Devourer.
Unlike other bosses, Ghorm doesn’t wait in a room—it carves a circular path through the world, smashing through anything in its way. But don’t let its mobility intimidate you: with the right preparation, the fight becomes a satisfying (and slightly explosive) step forward in your journey.
This guide will walk you through how to find Ghorm, recommended gear and consumables, and combat strategies that work for both Normal and Hard Mode, plus what to do after you’ve claimed victory—and loot.
Tracking Down Ghorm the Devourer

Finding Ghorm is thankfully straightforward. All you need to do is craft a Ghorm the Devourer Scanner at the activated Glurch statue (after inserting the Glurch Eye). The scanner requires just 3 Ancient Gemstones and 3 Mechanical Parts—both of which should be fairly obtainable by now.
Once crafted, simply use the scanner like a consumable, and Ghorm’s location will be marked on your map. No aimless wandering required!
Recommended Gear for Taking Down Ghorm the Devourer
Bombs (Essential)
- Absolute must-have for this fight. They will easily stop Ghorm’s movement and initiate the encounter, eliminating the need for you to chase after it.
- Place as many as you can along the path that Ghorm traverses—around 13 is usually enough, but more means more damage and a quicker fight.
Pets
- Embertail
- Hatched from a Curious Egg (buy it from the Bearded Merchant).
- Can deal critical damage, bonus boss damage, and DoT.
- Owlux
- A good alternative to Embertail.
- Hatched from a Lively Egg (found in early-game crates).
- Grants its owner a variety of buffs ranging from movement speed to bonus critical damage.
Utility Gear
- Explorer’s Backpack – More inventory slots + movement speed.
- Swift Feather – Grants a short-range dash, crucial for repositioning and dodging attacks.
Ranged Weapons
- Slingshot
- A fast and powerful upgrade from the Wood Bow/Crossbow.
- Ideal for players who prefer using ranged weapons.
Staves, Magic, and Summoning
- Simple Staff
- A solid and accessible choice for high damage and a built-in crit chance.
- Slower than Slingshot but better burst potential.
- Tome of the Dark
- Increases your DPS when alternated with your main weapon.
- Not strictly necessary to have, but good to bring along if you already have access to it.
- Fireball Staff
- Rare drop from Caveling Shamans (found in Forgotten Ruins, with higher droprates especially on Hard Mode).
- Incredible DPS with high base damage, burn DoT, and a charged secondary attack.
- Just don’t stand too close when you cast the secondary—it hurts everyone.
Armor Sets
- Ranger Armor Set (ranged users)
- Complements ranged weapons such as bows/slingshot.
- Provides bonus ranged damage, attack speed, and critical damage, with decent armor and max health boost.
- Also pairs well with Copper Cross Necklace (crit chance) and Blob Rosary Necklace + Melting Crystal Ring (ranged damage).
- Apprentice Set (magic users)
- Complements staves and summoning tomes.
- Provides bonus magic damage, max mana, mana regeneration, and protection via magic barrier.
- Pairs well with Crescent Ring (max mana bonus) and Copper Cross Necklace (crit chance)
- Bronze Armor Set
- A balanced mix of armor, ranged, and melee damage.
- Very accessible early game as it can be crafted using the Tin Anvil.
- Iron Armor Set
- For those rushing into iron-tier gear.
- Offers strong defense and high bonus damage across all builds.
Recommended Consumables
Food Buffs

- Gooey Pepper Wrap
- Great all-around option for mobility, health regen, and crit rate bonus.
- Crafted with: Larva Meat + Bomb Pepper
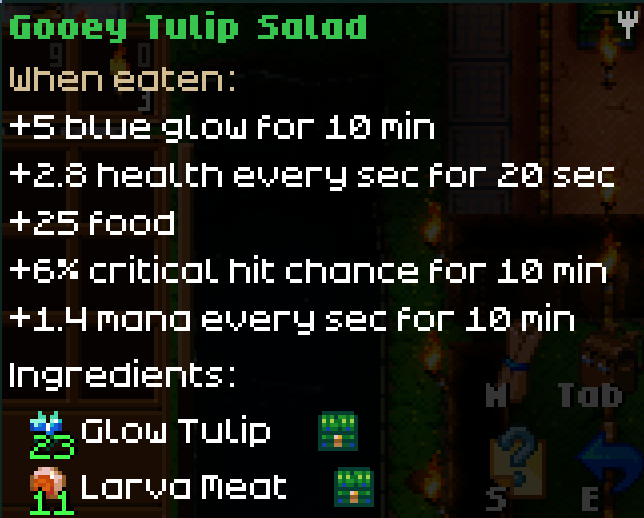
- Gooey Tulip Salad
- Ideal for magic users—offers mana regeneration, crit chance, and glow.
- Crafted with: Larva Meat + Glow Tulip
Potions (Alchemy Table Required)
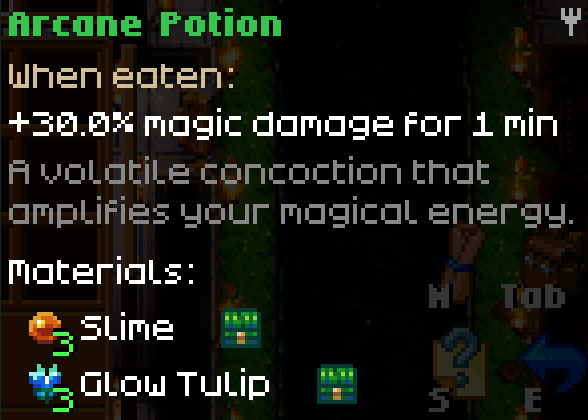
- Arcane Potion
- Boosts magic damage — perfect for staff users.
- Ingredients: 3 Slimes + 3 Glow Tulips
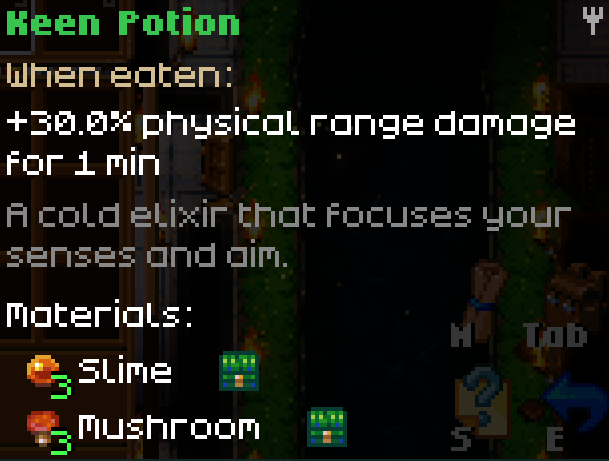
- Keen Potion
- Increases ranged weapon damage — a must for bow, crossbow, or slingshot builds.
- Ingredients: 3 Slimes + 3 Mushrooms
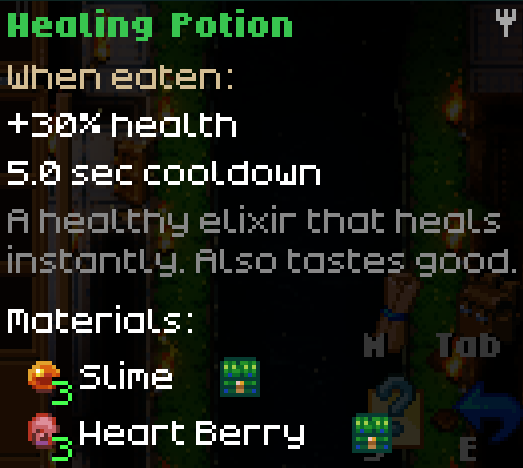
- Healing Potion
- Basic but essential. Keeps you alive during tight moments.
- Ingredients: 3 Slimes + 3 Heart Berries
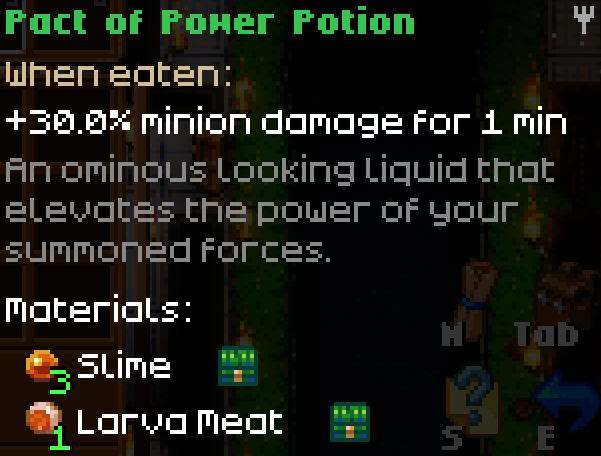
- Pact of Power Potion
- Increases minion damage, and is great for use with summoning tomes.
- Ingredients: 3 Slimes + 1 Larva Meat
Fighting Ghorm the Devourer
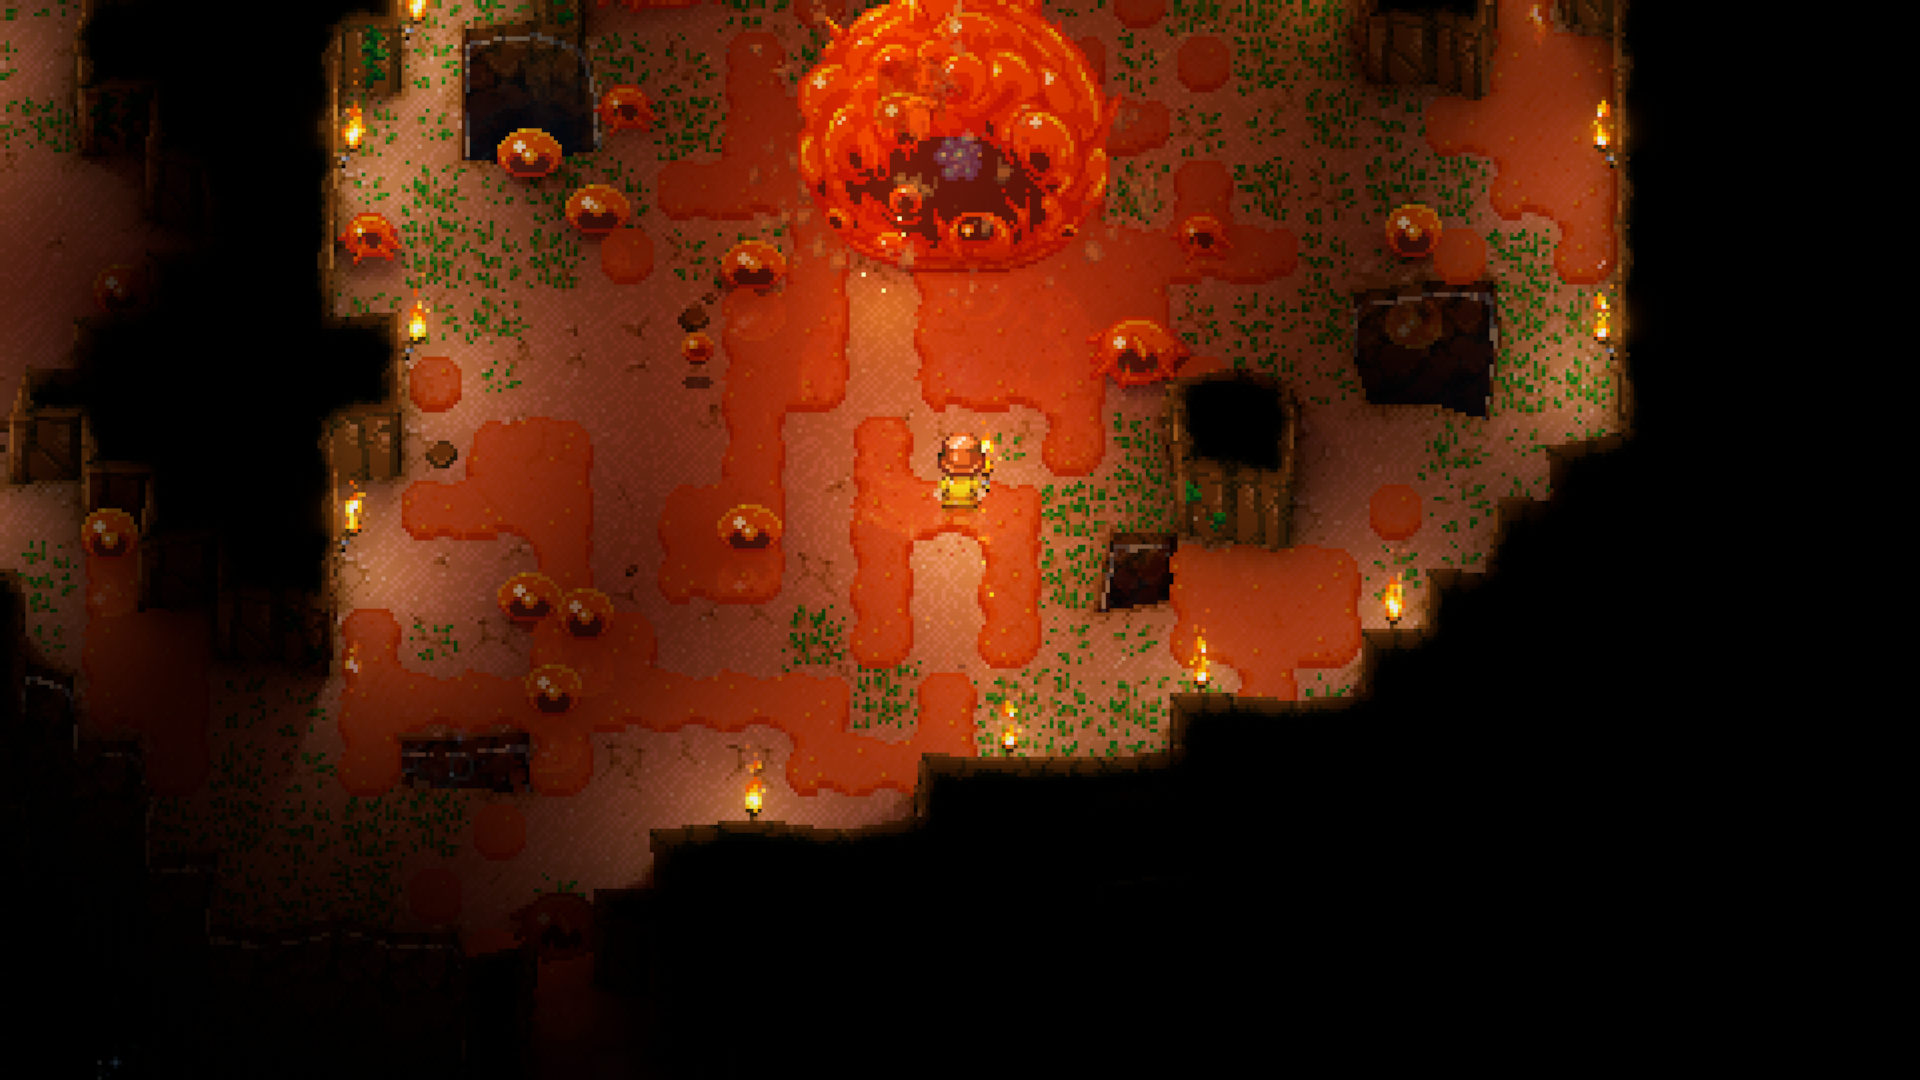
Unlike most bosses in Core Keeper, Ghorm doesn’t sit around waiting for you—it’s constantly on the move, carving a massive circular path around The Core and the Dirt Biome (roughly 190–210 tiles out, according to the wiki). That means you decide when and where the fight begins.
This strategy is demonstrated on Hard Mode, using a Fireball Staff, which is highly recommended for its high damage and burn effect. If you’re on Normal Mode, expect a much shorter and easier fight.
- Clear the area where you plan to intercept Ghorm—remove blocks and obstacles, fill in voids, and make sure you have room to maneuver.
- Once Ghorm approaches your spot (you’ll know when the screen starts shaking), lay a line of bombs while walking backward. When Ghorm charges through, the bombs will detonate on contact, dealing huge damage and stopping it in place.
- This bomb method should bring Ghorm to around 80% HP, officially triggering the boss fight.
- After the initial hit, Ghorm will pause for a brief moment. Use this opportunity to consume any buff food or potions you’ve brought, and summon minion(s) if you’re using a tome.
- Ghorm only has one primary attack: it circles you and tries to attack you. But don’t underestimate it—its sheer size and unpredictable off-screen movement can make dodging tricky. Use the Swift Feather to dash out of danger and reposition easily.
- Keep dealing damage while weaving in and out of its path. Your pet, DoTs, and summons will also help to chip away at Ghorm’s health while you stay focused on survival.
And that’s it! It’s a battle of movement, timing, and consistent DPS. Stay light on your feet, and you’ll squash this oversized grub in no time.
After Defeating Ghorm the Devourer
Congratulations! You’ve taken down Ghorm the Devourer, the second major boss in your Core Keeper adventure. Not bad for squashing a tunnel-rampaging larva the size of a train.
Here’s what you’ll get in the Ghorm Chest for your efforts:
- Guaranteed drops:
- Ghorm’s Stomach Backpack – a stylish backpack that boosts your inventory space.
- Ghorm’s Horn – Slot this into the Ghorm Statue at The Core to unlock new crafting options and continue your progression.
- Mysterious Idol – Use this to summon the Cloaked Merchant, who offers rare items you won’t find anywhere else.
- Chance-based rewards (to name a few):
- Arcane Staff – a rare magic weapon.
- Flintlock Musket – a powerful ranged weapon.
- Cooking Pot armor set – Enhances well-fed buffs, adds bonus critical hit chance, reduces hunger drain while running, and—well… makes you look like a walking piece of essential base décor.
- More can be found on the wiki.
Remember: After looting everything inside the Ghorm Chest, don’t forget to pick up the chest itself! Like Glurch’s, it makes for a cool-looking storage option back at your base.
From Worm Food to Worm Slayer
Congratulations—you’ve officially turned the Devourer into the devoured. Whether you pelted Ghorm with magic, arrows, or a well-placed line of bombs, you’ve taken down one of Core Keeper’s most intimidating early-game bosses.
Ghorm’s intimidating size and sheer destructive power made it a true test of skill and preparation. But now, with the path cleared, you’re one step closer to facing the next—and final—major early-game boss, Malugaz the Corrupted. Defeating Malugaz is the gateway to venturing beyond the Great Wall, where new dangers, mysteries, and opportunities await.
So take a moment to savor your victory, gear up, and get ready—as your Core Keeper journey is only just heating up.