So, you’ve woken up underground with nothing but a pickaxe, a vague sense of purpose, and a suspicious number of glowing vegetables.
Welcome to Core Keeper.
Like most sandbox survival games, the dream here is simple: carve out a home, gather shiny things, avoid dying horribly, and eventually become so self-sustaining that you barely remember the time you panicked over a single slime.
Core Keeper sticks to that classic formula but adds a few fun twists—like memorable boss fights that are as much a visual spectacle as they are a gameplay challenge, immersive biomes that range from cozy to downright mystical, and pixel art so charming you might briefly forget your character is hungry again.
This guide is here to help you get through the early-game with minimal flailing by building a base that serves as a solid foundation—one that keeps you fed, keeps your stuff organized, and sets you up nicely for deeper exploration without turning into a chaotic dirt maze halfway through.
This guide distills my personal trial-and-error experiences from playing with default characters, meaning it’s crafted without reliance on special perks or unique backgrounds. Think of it as a set of hard-earned insights rather than a rigid instruction manual or a one-size-fits-all blueprint. Consider this a gentle nudge: follow it if it helps, ignore it if it doesn’t. The important thing is that you have fun, stay alive, and set yourself up for an expansive exploration.
Let’s dig in. Literally.
Your First Steps Underground
Before you start punching slimes and chasing shiny ore veins, your first priority is setting up some basic infrastructure to keep things running smoothly. The goal here is to get sustainable fast so you can focus on what really matters—exploring, upgrading, and eventually squaring off with some impressively dramatic bosses.
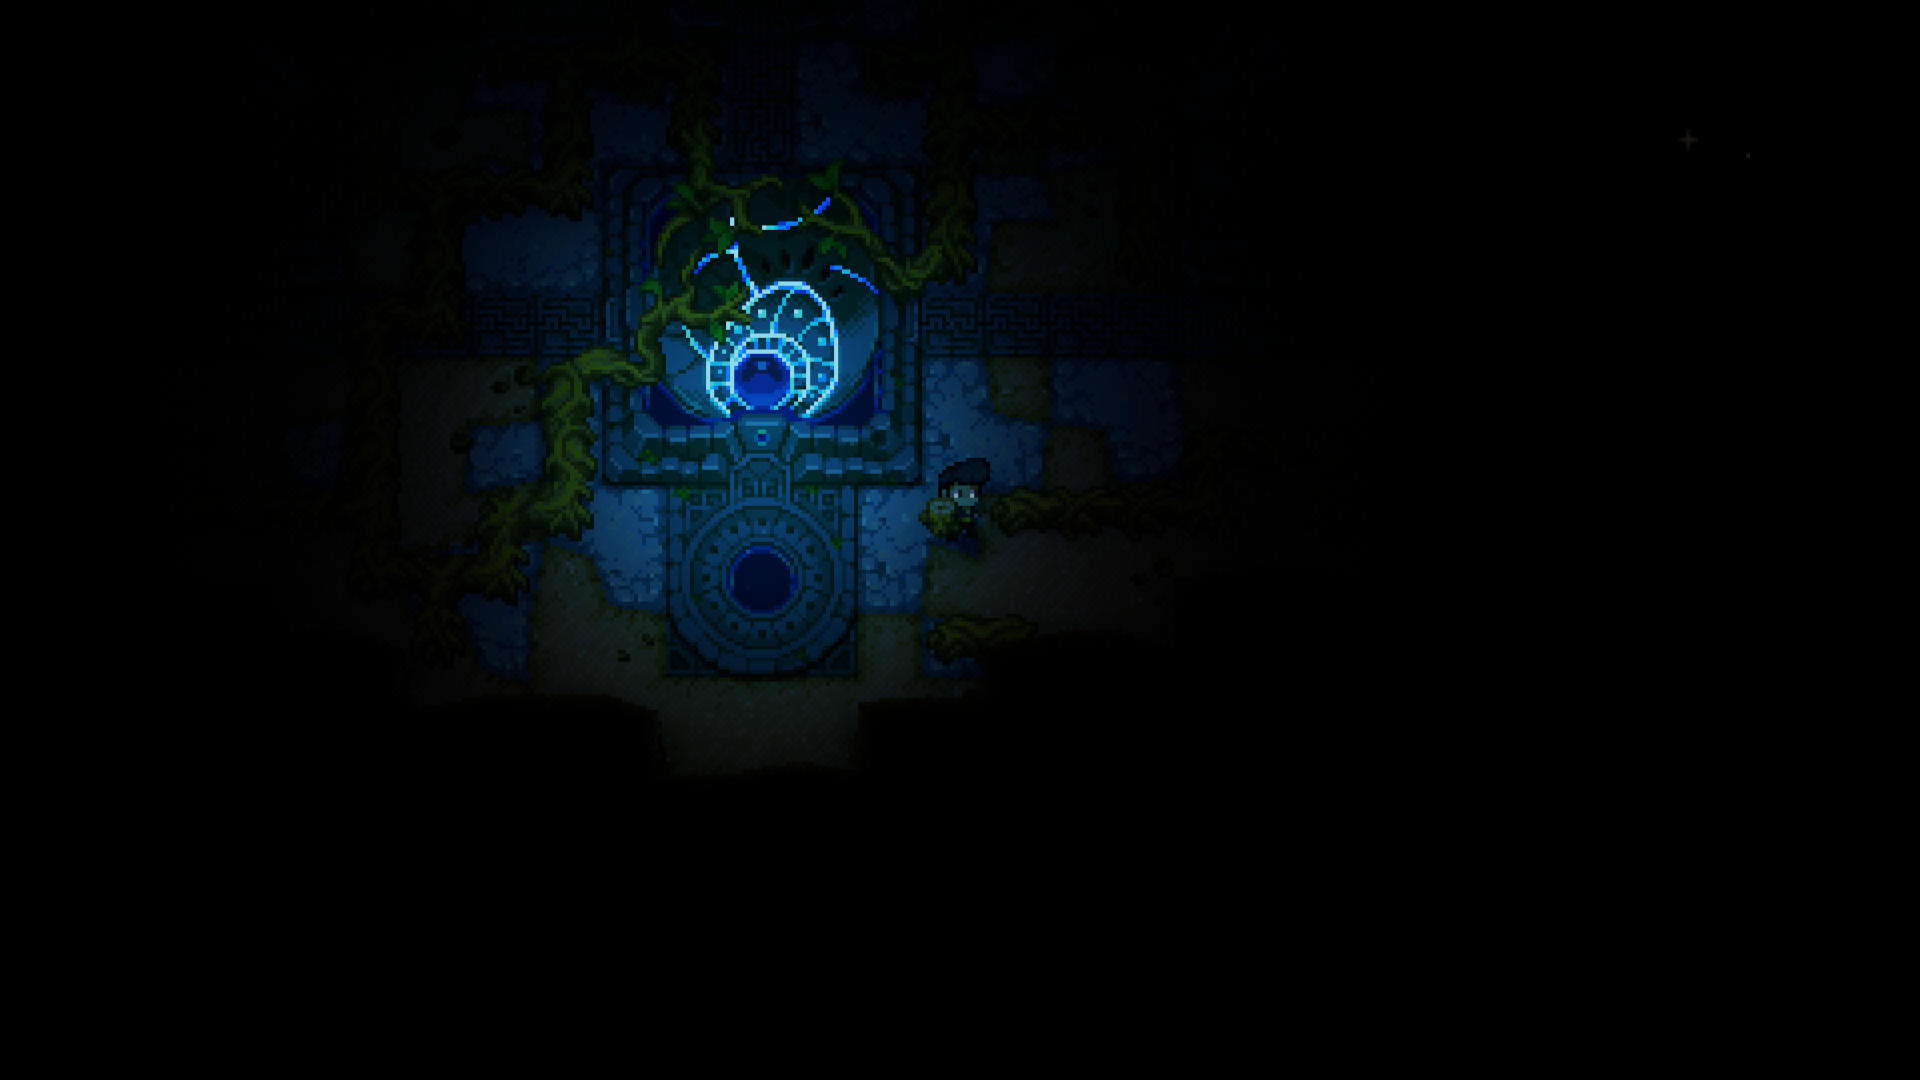
This method works best if you place your first base right at your spawn point—near or directly around The Core, the large glowing structure at the center of the map. Building here gives you a strong start and conveniently places your base at the heart of the world, with equal access to all surrounding biomes. You’ll also be close to several statues that play an important role later on, making this location both practical and future-proof.
You may notice that your game starts with roots already growing nearby. Go ahead and harvest them as you’ll need a fair amount early on. While you’re at it, pick the mushrooms growing around the edges of the area. They’re your main food source for now and will help keep your hunger in check while you explore.
Next, you’ll want to craft a few basic tools.
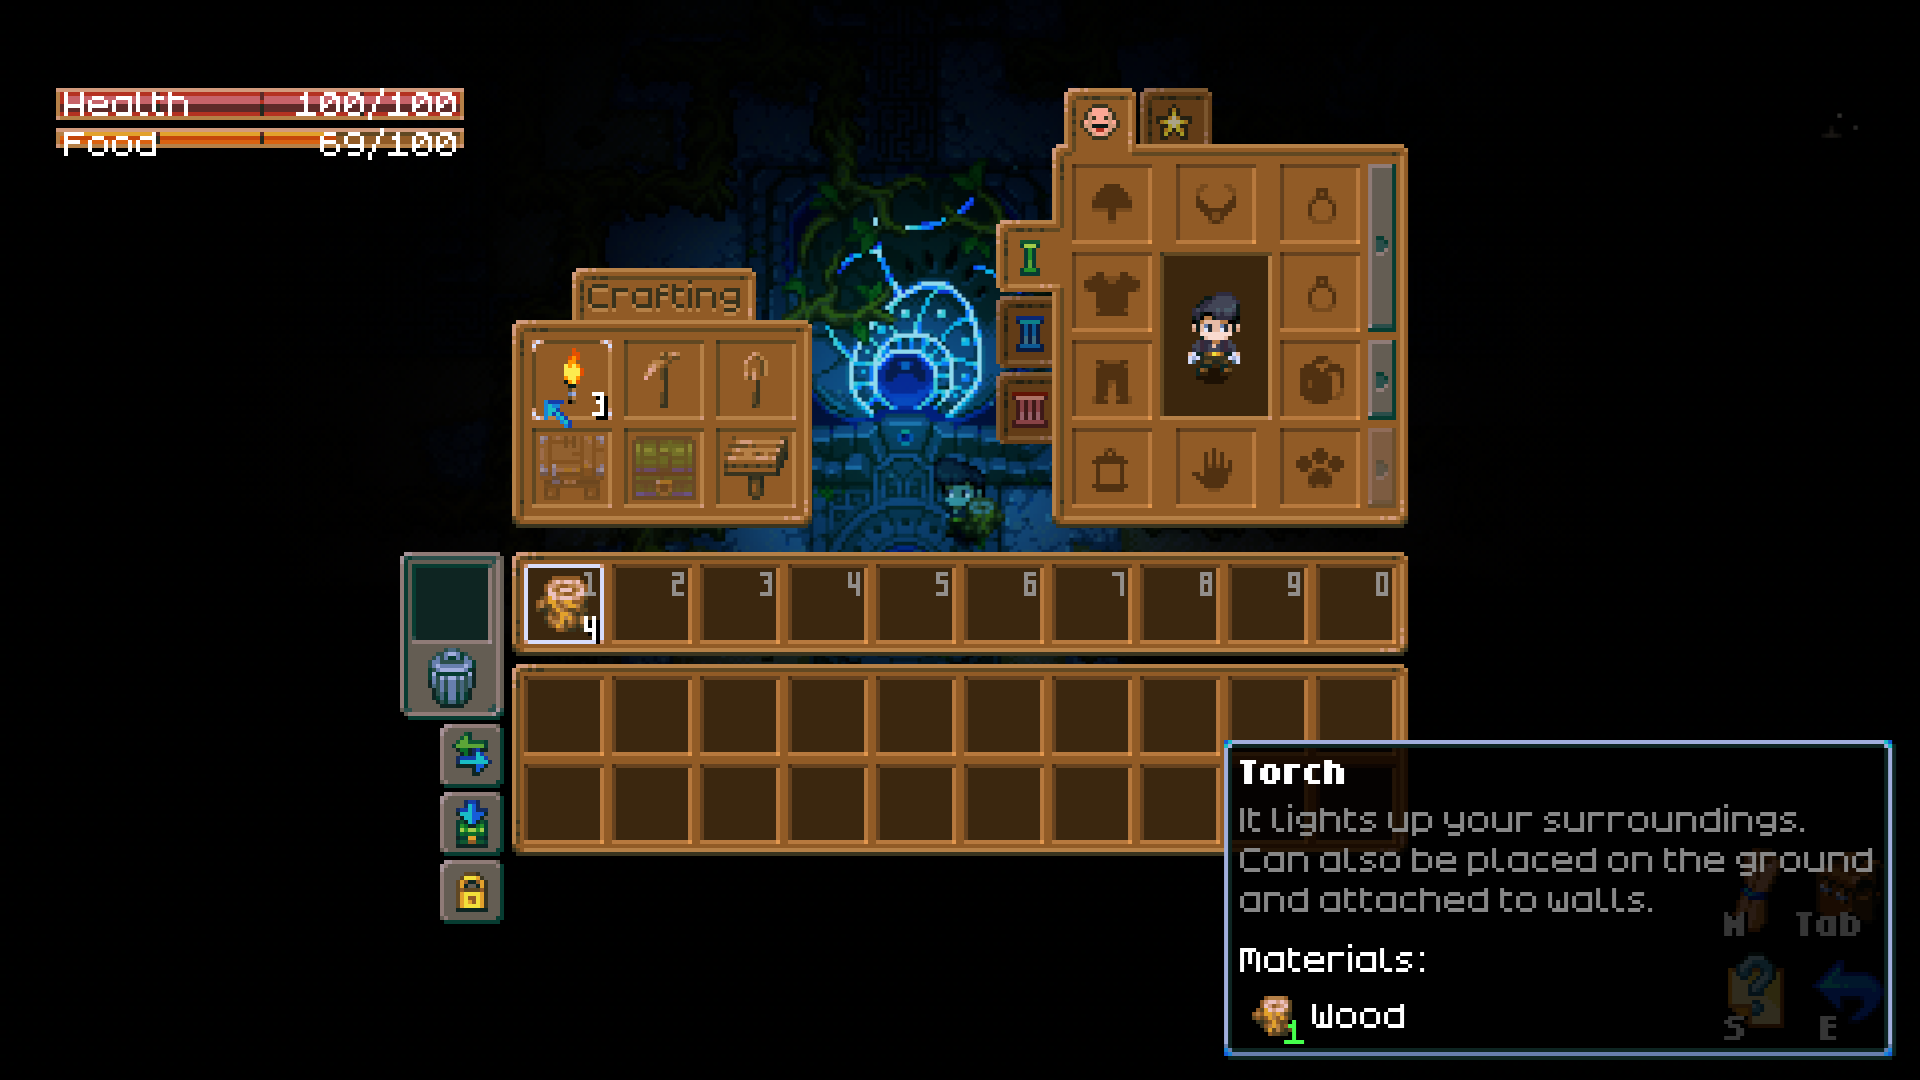
Depending on your chosen character background, you might already have some tools on hand. If that’s the case, just craft whatever you’re missing and skip the rest. Otherwise, aim to craft a Torch, Wood Shovel, Wood Pickaxe, and a Basic Workbench.
With your Basic Workbench set up, you can craft your first weapon—a Wooden Sword. It’s not fancy, but it’ll help you defeat early enemies much more easily or deal with aggressive enemies that wander too close.
It’s also worth making a Wooden Hoe, as this lets you establish your crop farm early, which is great for building up a steady food supply before you unlock more advanced farming or cooking options.
You’ll notice the Wooden Armor Set (helmet, chest, and pants) is available for crafting right from the start. However, I generally don’t find it essential to craft immediately. Most early enemies are slow and easy to dodge, and you’ll soon come across better gear through chests, loot drops, or by crafting at higher-tier workbenches with higher-tier materials. That said, if you’d prefer to play it safe and add a layer of early protection, there’s absolutely no harm in crafting and equipping it.
Finally, keep an eye out for Root Seeds while gathering wood. You’ll usually get at least one early on. Hang onto it—it’ll come in handy later when you want to set up a renewable wood supply.
Exploring & Gathering Essentials
With your tools ready and your workbench established, it’s time to start exploring the world around you.
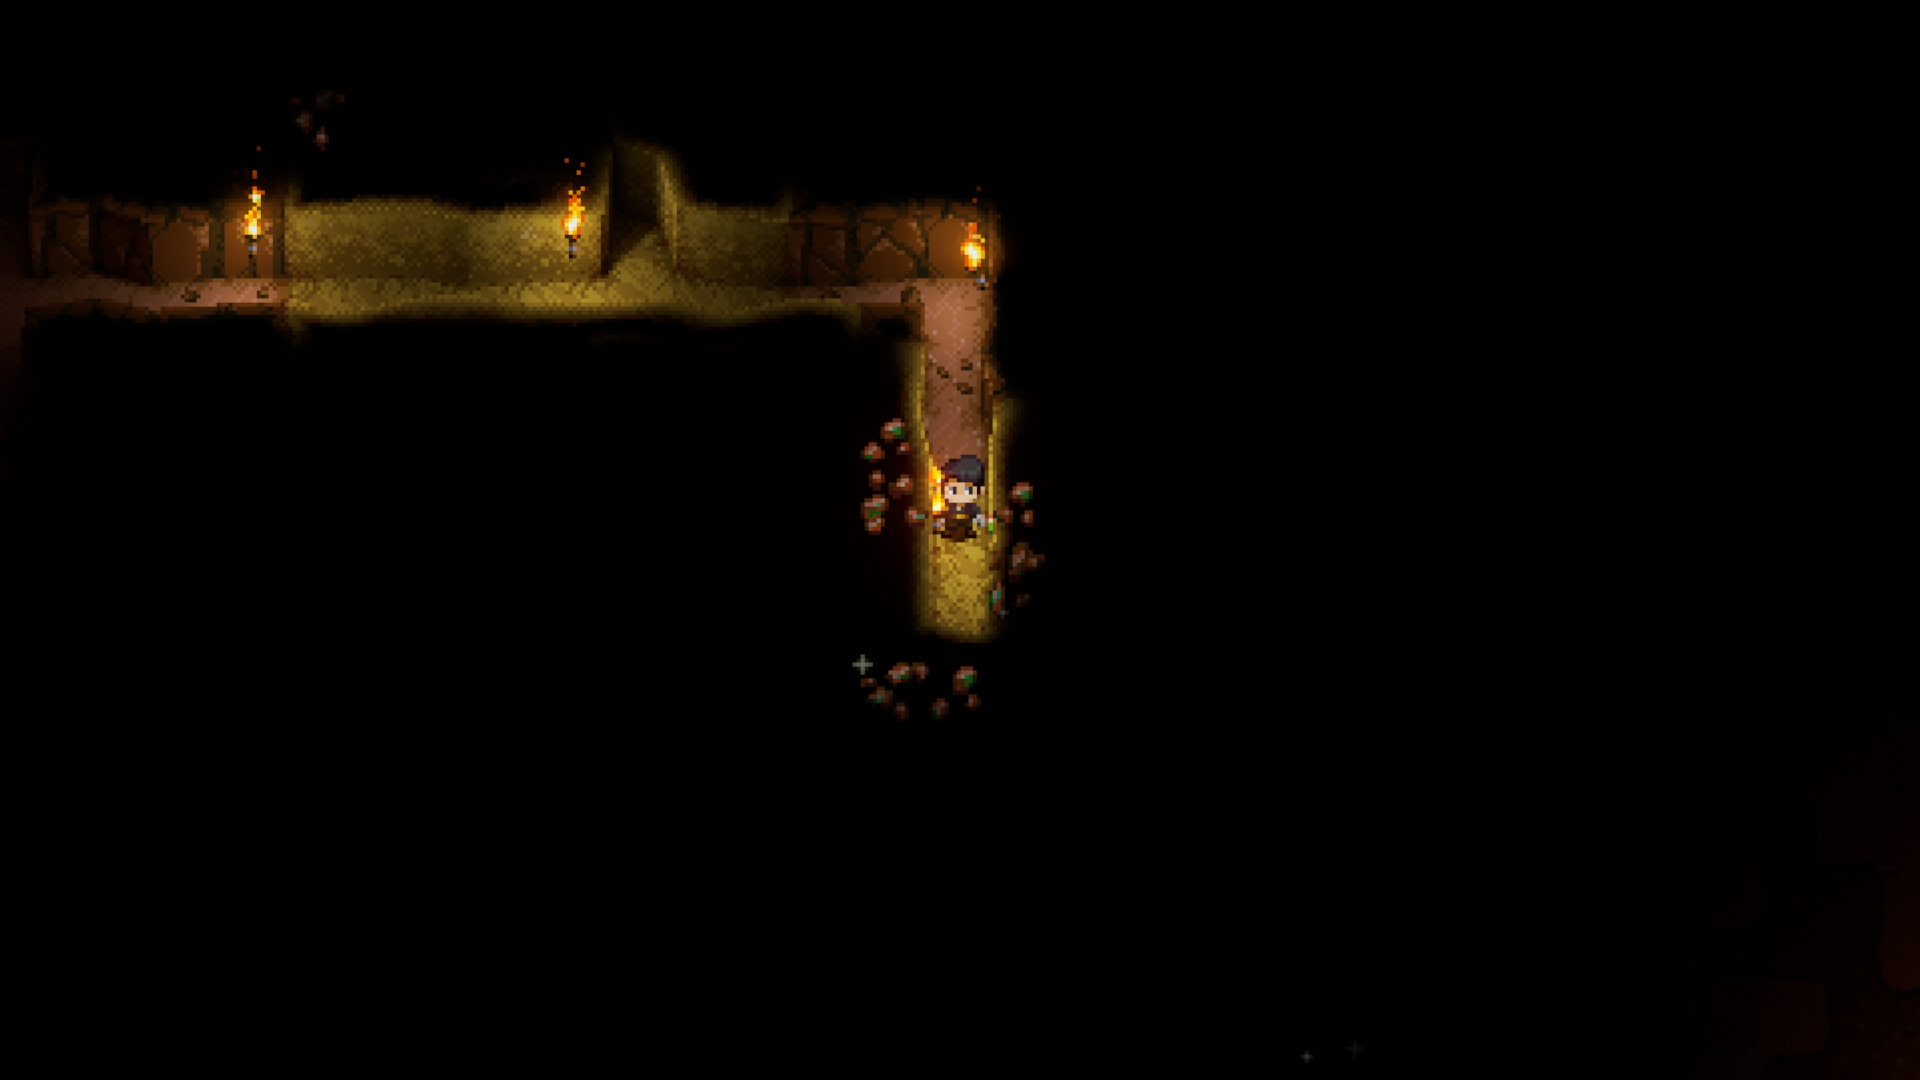
A good way to begin is by digging outward from the Core in four directions—north, south, east, and west. This simple approach gives you the best chance of uncovering nearby rooms, environments, or hidden resources early on. Make sure to place torches as you go too—not just to light the way, but to help you find your path back to the Core without losing your sense of direction.
Even during this brief round of exploration, there’s a high chance you’ll come across key food sources like water tiles, wild crops, mushrooms, and Shroomans (the walking mushroom creatures). All of these will be useful for keeping your character well-fed in the early game.
You might also spot crates or ground patches marked with an “X.” Smash any boxes you find for useful loot, and use a shovel on the Xs to dig up random rewards, which can range from seeds and food to rare equipment.
If you encounter Orange or Red Slimes, try to defeat a few—the Slime they drop are an important crafting material you’ll need later. Just don’t wander too far too quickly; the further you go, the higher the risk of running into enemies you’re not yet equipped to handle, or getting overwhelmed by groups.
Along the way, you’ll likely come across patches of Fungal Soil (apparent by their brownish, root-like appearance), often with mushrooms growing directly on them and occasional Shroomans lurking nearby. Use a shovel to dig these up and bring them back to your base—you can use them to grow mushrooms and set up a mushroom farm, which is one of the easiest ways to stay fed and obtain resources in the early game. Until then, keep harvesting wild mushrooms and crops to stay on top of your hunger.
As you dig, keep an eye out for sparkling tiles in the dark—these indicate ores, with Copper Ore being your first major find. These are essential for crafting better structures, gears, and tools, so be sure to grab all you can. Aim for around 21 Copper Ores for now; more is always good if you stumble upon it, but don’t overdo it. Early on, your mining and digging aren’t very efficient anyway with lower skills and lower-tier tools.
You’ll also start gaining skill points tied to your actions (e.g., mining boosts your Mining skill tree, while running boosts your Running skill tree). To access your Talent Trees, press Tab to open your inventory, then click the yellow star icon at the top of your character screen. You can spend these points to unlock bonus effects—don’t forget to upgrade whenever possible, as these can provide significant advantages. Don’t stress too much about committing to any specific path right now; you’ll be able to reset your skills later using Ancient Coins if needed.
There’s also a chance you’ll run into a Shrooman Brute—a large blue mushroom creature. Despite its intimidating size, it’s not too tough, especially if your character has a damage-focused background. It can drop helpful early-game items like potions, equipment, and seeds. The video below demonstrates the general strategy and kiting pattern. (Note: This footage was recorded on Hard Mode. Enemies in normal mode have lower health and will require fewer hits to defeat.)
Just keep in mind: clear out all the other nearby enemies first before approaching the Shrooman Brute. While its cap is blue, it’s in a “hardened” state and takes little to no damage. To defeat it, bait its charge attack, dodge out of the way, and let it crash into a wall. When its cap turns orange, it becomes vulnerable—use that window to deal damage, and repeat as needed.
If you’d rather not take the fight just yet, that’s totally fine too. You can always come back later when you’re better equipped.
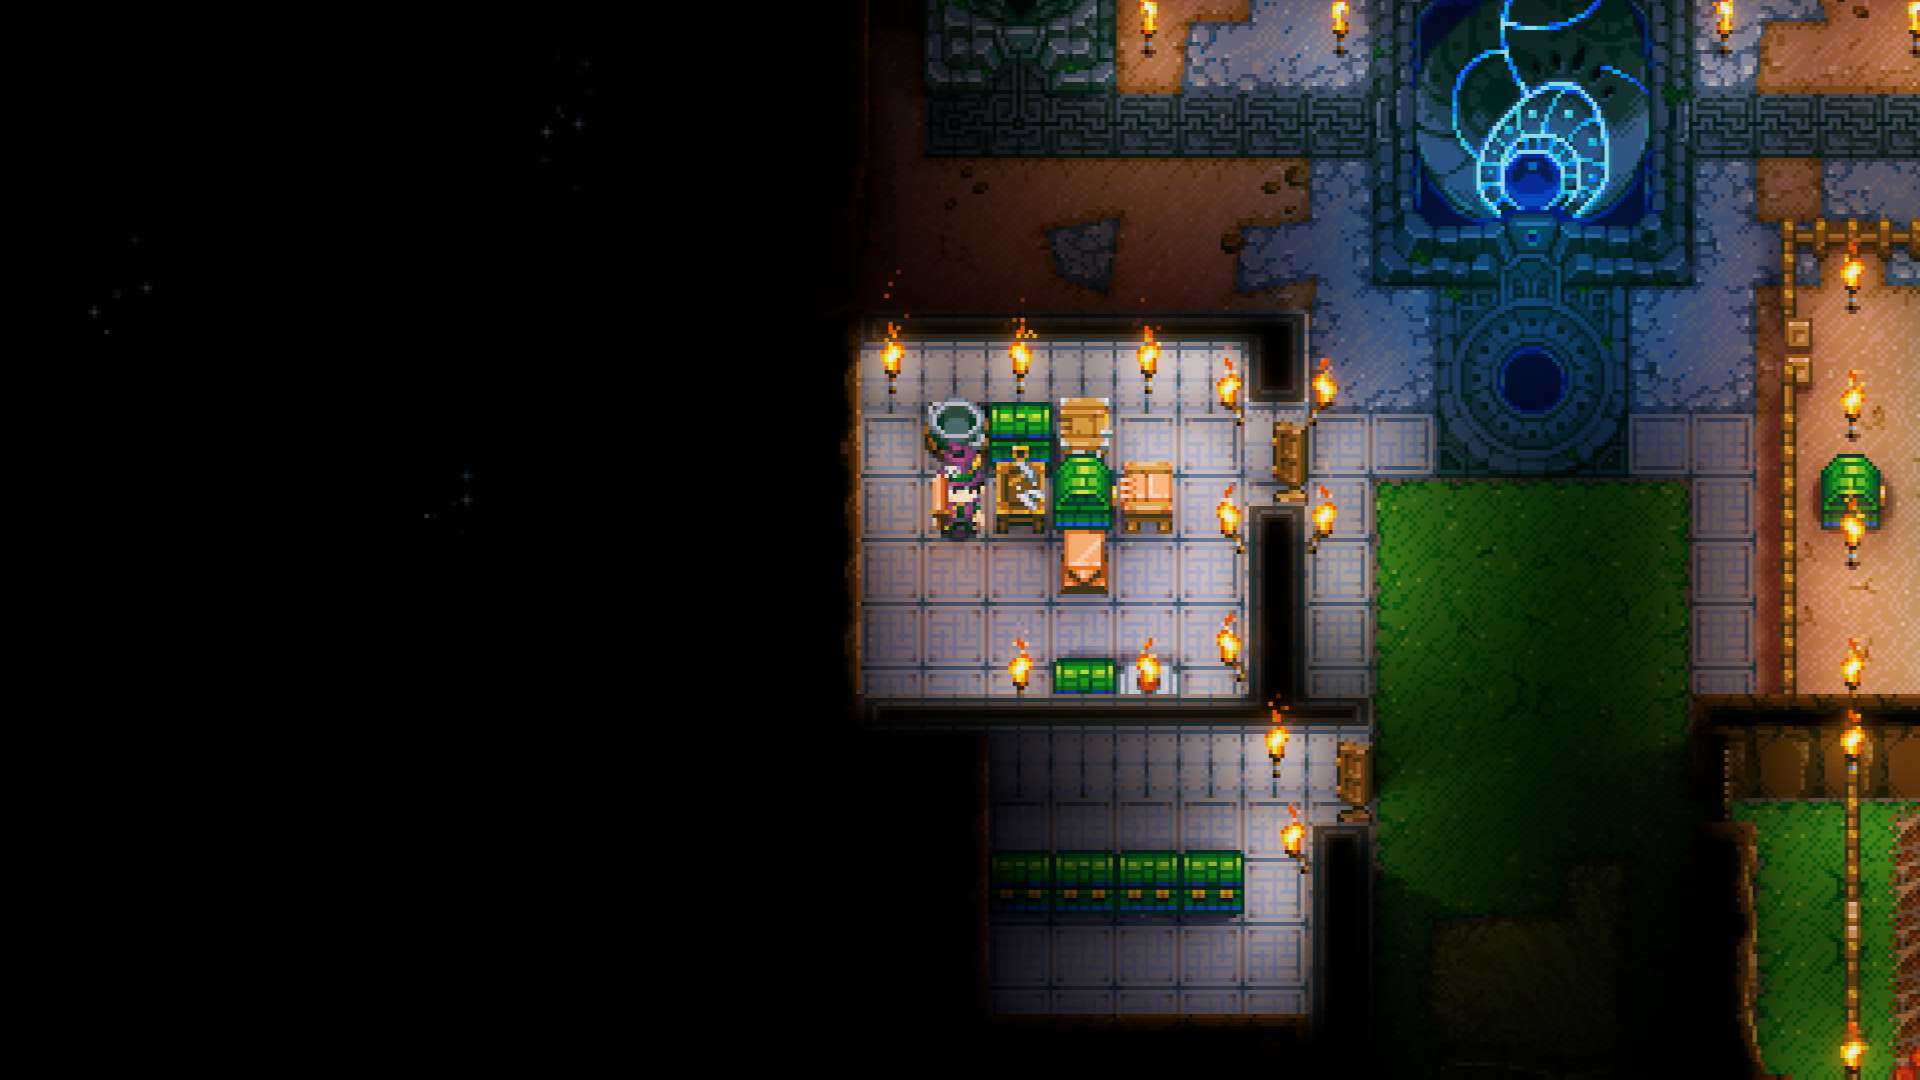
By now, you’ll probably have a decent amount of loot piling up—this is a good time to craft a few storage chests back at your base to keep everything organized. A tidy base makes crafting and upgrading much smoother later on.
Working Towards Self-Sufficiency
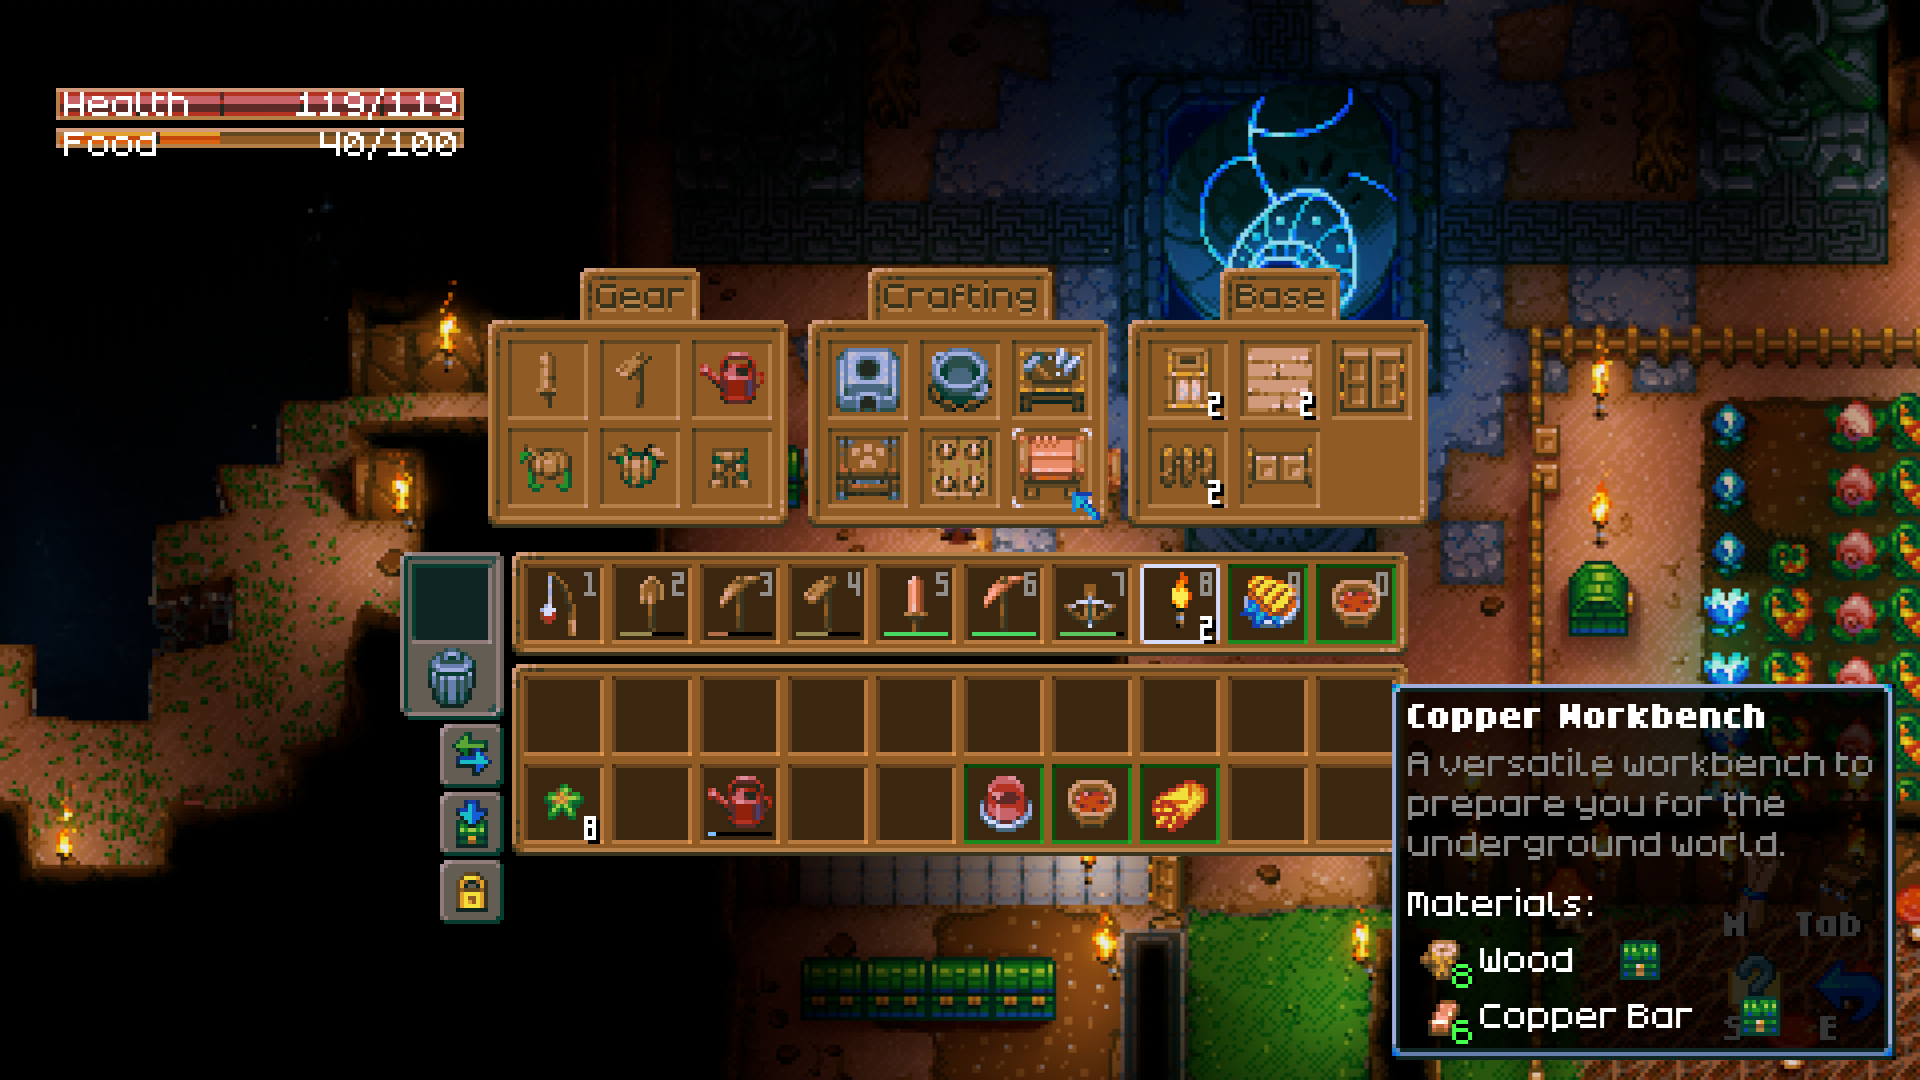
By now, you should have collected a fair amount of Dirt Blocks from all your digging. It’s time to put them to use by crafting a Furnace, which you’ll need to start smelting Copper Ore into Copper Bars—an essential step in unlocking your next set of tools and utilities.
Quick tip: your hunger bar doesn’t drain while standing still. That means you can safely idle near your base while smelting, cooking, or waiting on crops—just be sure there are no enemies wandering too close.
With your shiny new copper bars in hand, prioritize crafting these items with your Basic Workbench:
- Copper Workbench – This allows you to craft more advanced structures, tools, and equipment.
- Cooking Pot – This lets you combine ingredients to make meals that restore more hunger than raw food and often grant handy buffs. Experimenting with recipes can make combat and exploration much smoother as well.
- Watering Can – This, along with your Wooden Hoe, is what you’ll need to start your first crop farm. Keeping yourself fed gets a lot easier once your farm’s up and running.
- Salvage and Repair Station – As the name suggests, this bench lets you salvage old or broken tools, weapons, and gear into Scrap Parts. You can also use it to repair your equipment using Scrap Parts—very handy for extending the lifespan of early weapons and tools without burning through your resources—as well as add bonus stats and durability by reinforcing them.
You should also now have enough seeds from your earlier exploration to begin your first crop farm. Stick to crop seeds like Heart Berry, Bomb Pepper, and Glow Tulip for now. Hold off on planting Root Seeds—they’re useful later, but they can interfere with your early farm layouts if planted alongside regular crops.
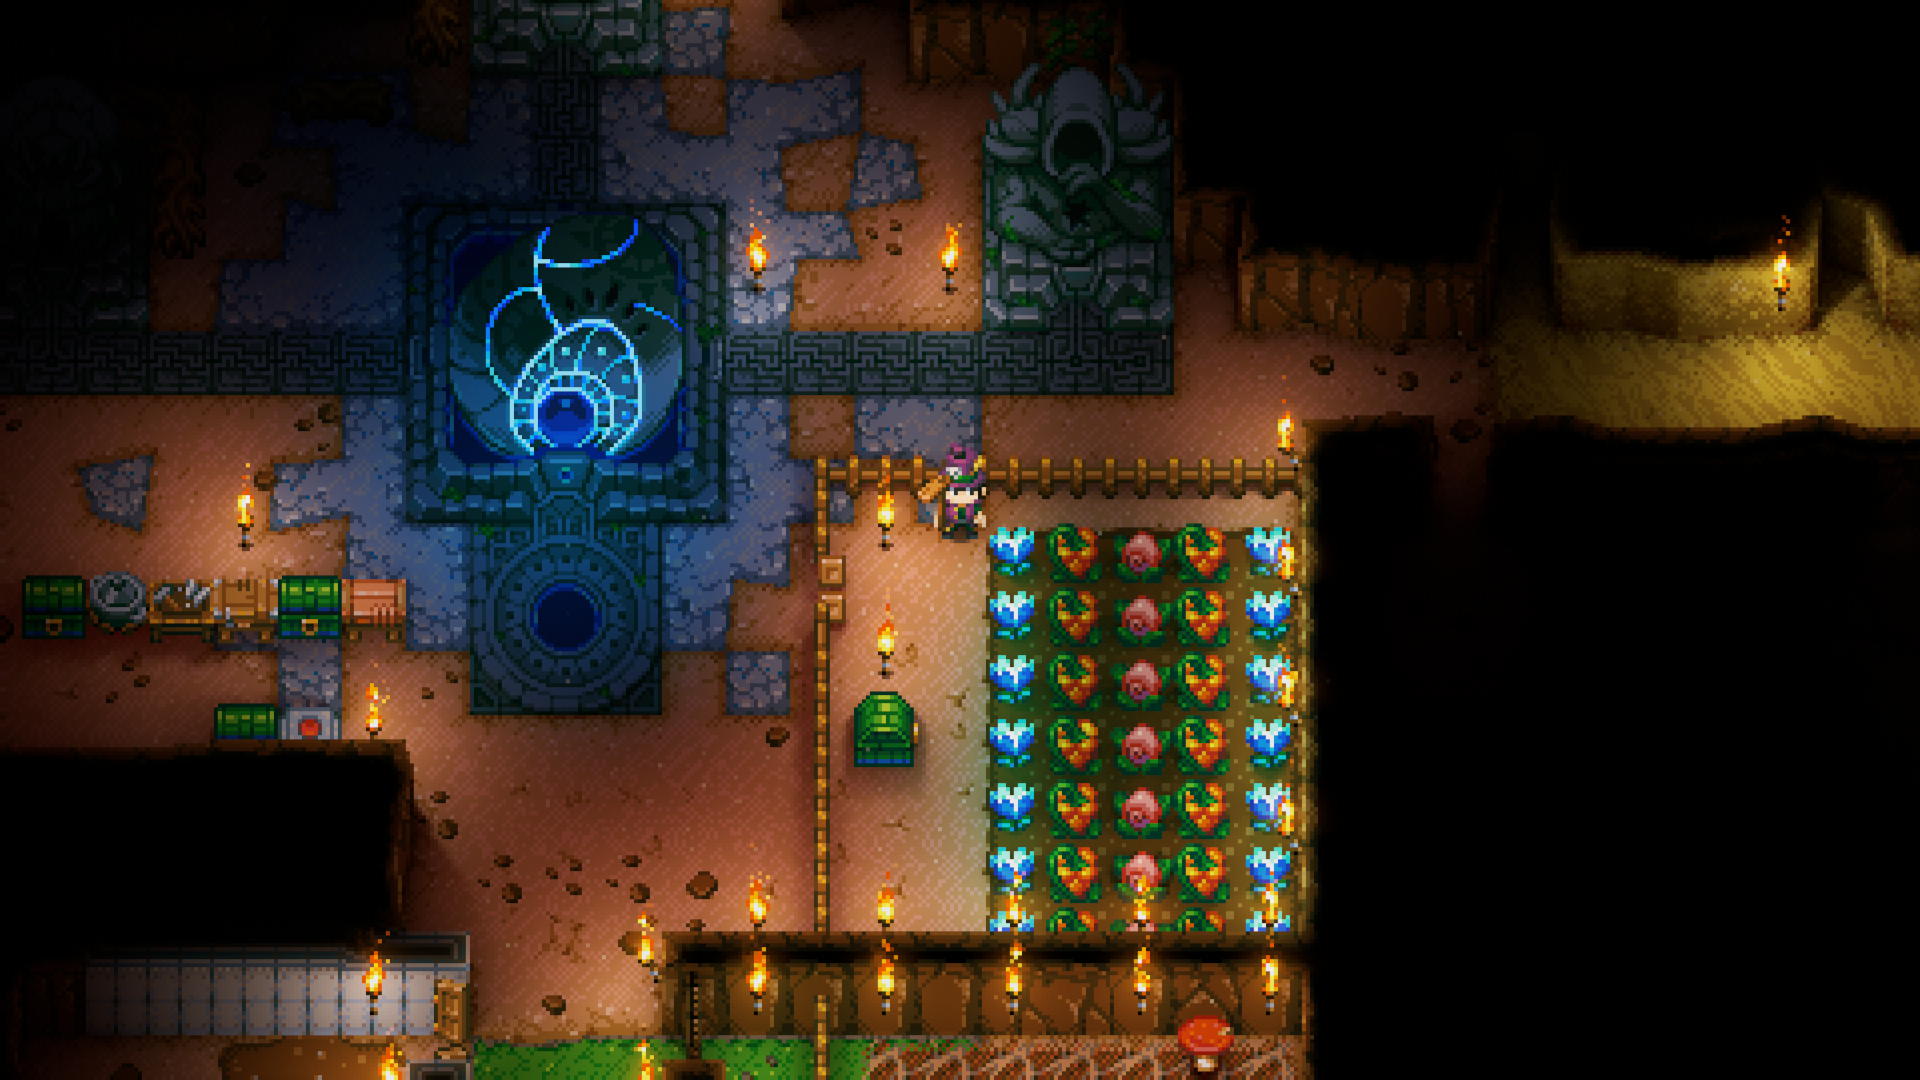
You can either repurpose a natural open space you’ve already discovered or dig out a new one for your farm—whatever feels right to you. Layout, size, and location are all flexible, so don’t stress about being optimal. Go with what feels fun or practical for your playstyle.
To get started:
- Use your Hoe to plow soil tiles by right-clicking (by default).
- If you make a mistake, just right-click the same tile again to un-plow it.
- With your seeds in hand, right-click a plowed tile to plant them.
- Then, fill your Watering Can by right-clicking a water tile while hovering over it.
- Finally, water your planted seeds using the same right-click method.
And just like that—you’ve started your first crop farm. Seeds take a bit of time to grow (about 10 minutes, according to the wiki), so feel free to use that time for more exploration, crafting, or organizing your base.
Keep in mind that harvesting crops doesn’t always give you seeds back. The base chance is 75%, but this can be improved later with certain skills (like Grateful Gardener) or equipment bonuses. It’s not a guaranteed return, but with a little effort, your farm will become a steady, renewable food source in no time.
Refining Your Base & Capabilities
Now that you’ve got a steady food supply from your crop farm and access to better meals via the Cooking Pot, you’re in a solid position to start venturing further and staying out longer.
Use your Copper Workbench and any leftover Copper Bars to craft a Copper Pickaxe. It’s a clear upgrade over your starter pickaxe—offering better durability and faster mining speeds.
Before heading out, cook up a few meals to bring along and start gathering more copper—aim for around 39 Copper Ore this time. Once smelted, these bars will unlock some of your first major gear upgrades:
- Small Backpack – Increases your inventory by 10 slots. Super helpful as your loot begins to pile up.
- Small Lantern – Combine the Slimes you’ve gathered earlier on with Copper Bars to craft this item. Once equipped, it provides portable light, freeing you from needing to hold a torch while exploring.
- Copper Anvil – Used to craft Copper-tier gear including weapons and armor.
- Copper Sword – A solid upgrade from wood. If your background favors ranged combat, consider crafting a Wood Bow instead—also available from the Copper Anvil. Depending on your character’s background, you can choose to skip this entirely as well.
- Copper Armor Set – Helm, Breastplate, and Pants. This is your first real defensive gear set and a big step up from wooden armor.
You can craft a Wooden Shield for a modest +6 armor boost, but honestly, it’s not something I’d strongly recommend. While it does let you block 70% of incoming damage (or even 100% with a well-timed parry that also stuns melee attackers), activating it locks you in place—you can’t move while blocking, and attacking will deactivate the shield. This can really hurt your mobility and DPS, as kiting is usually more effective in most fights. There are also more useful off-hand items available in the early-game, like the Swift Feather. Still, if you prefer a defensive approach or just want to try it out, feel free to craft one.
Want to level up your food game? Craft a Wood Fishing Rod at the Copper Workbench and start fishing! Not only does it give you a break from digging and dodging slimes, but the fish you catch restore more hunger than basic crops—and some can be cooked into powerful recipes with handy buffs.
While you’re at it, if you’ve picked up some Fibre during your adventures, consider crafting a Bed. It’s not strictly necessary this early on—especially when you’ve only got one base—but it does provide health regeneration. Perfect for patching up after a rough fight or taking a breather before your next big expedition.
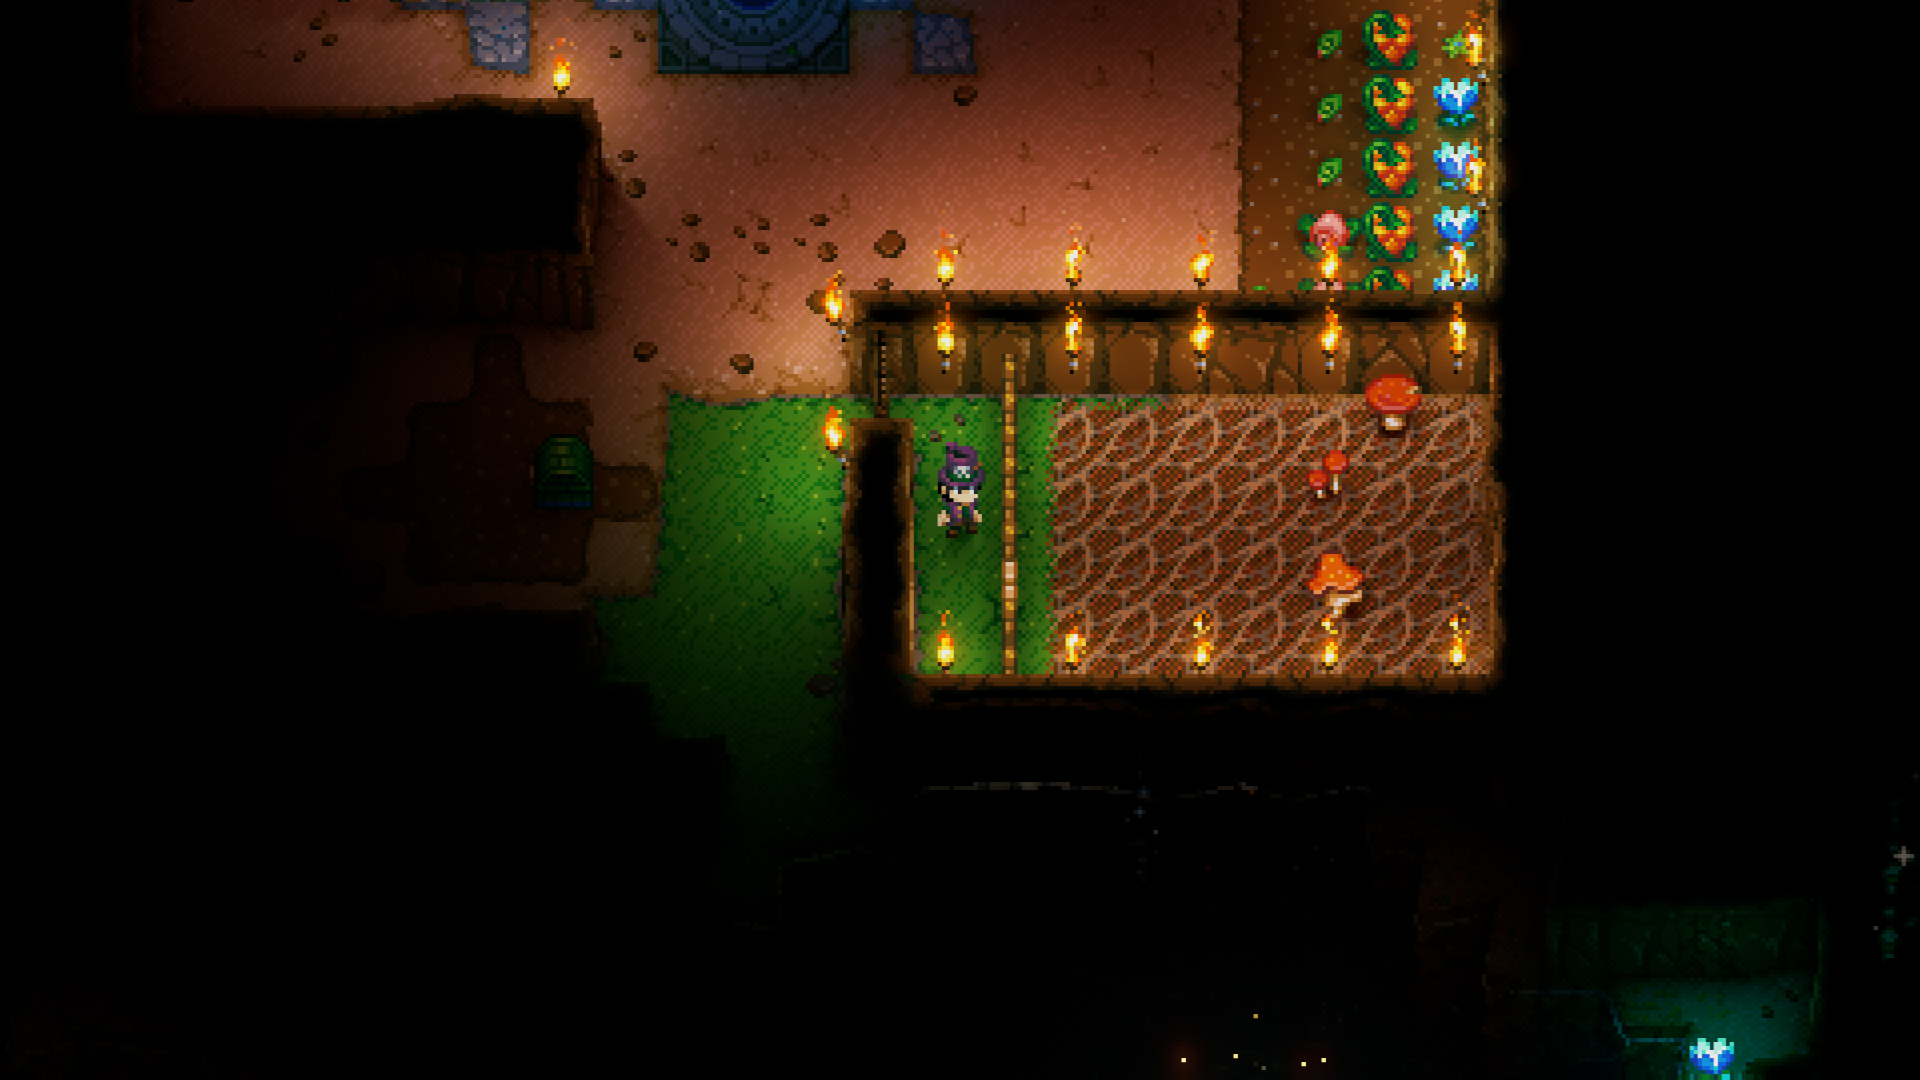
Now that you’ve progressed a bit, it’s a great time to start your mushroom farm using the Fungal Soil you dug up earlier. The process is simple:
- Create a room using Dirt Walls.
- Seal it with a Wooden Door.
- Place Fungal Soil on the ground tiles.
Over time, Mushrooms will grow on their own. Occasionally, Shroomans or Shrooman Brutes might spawn in this room as well. Early on, they can be a bit of a nuisance, but as your gear and skills improve, they’ll become manageable—and offer decent loot and food. Eventually, consider reinforcing the walls with Stone or Clay, as Shrooman Brutes can break Dirt Walls in a single hit.
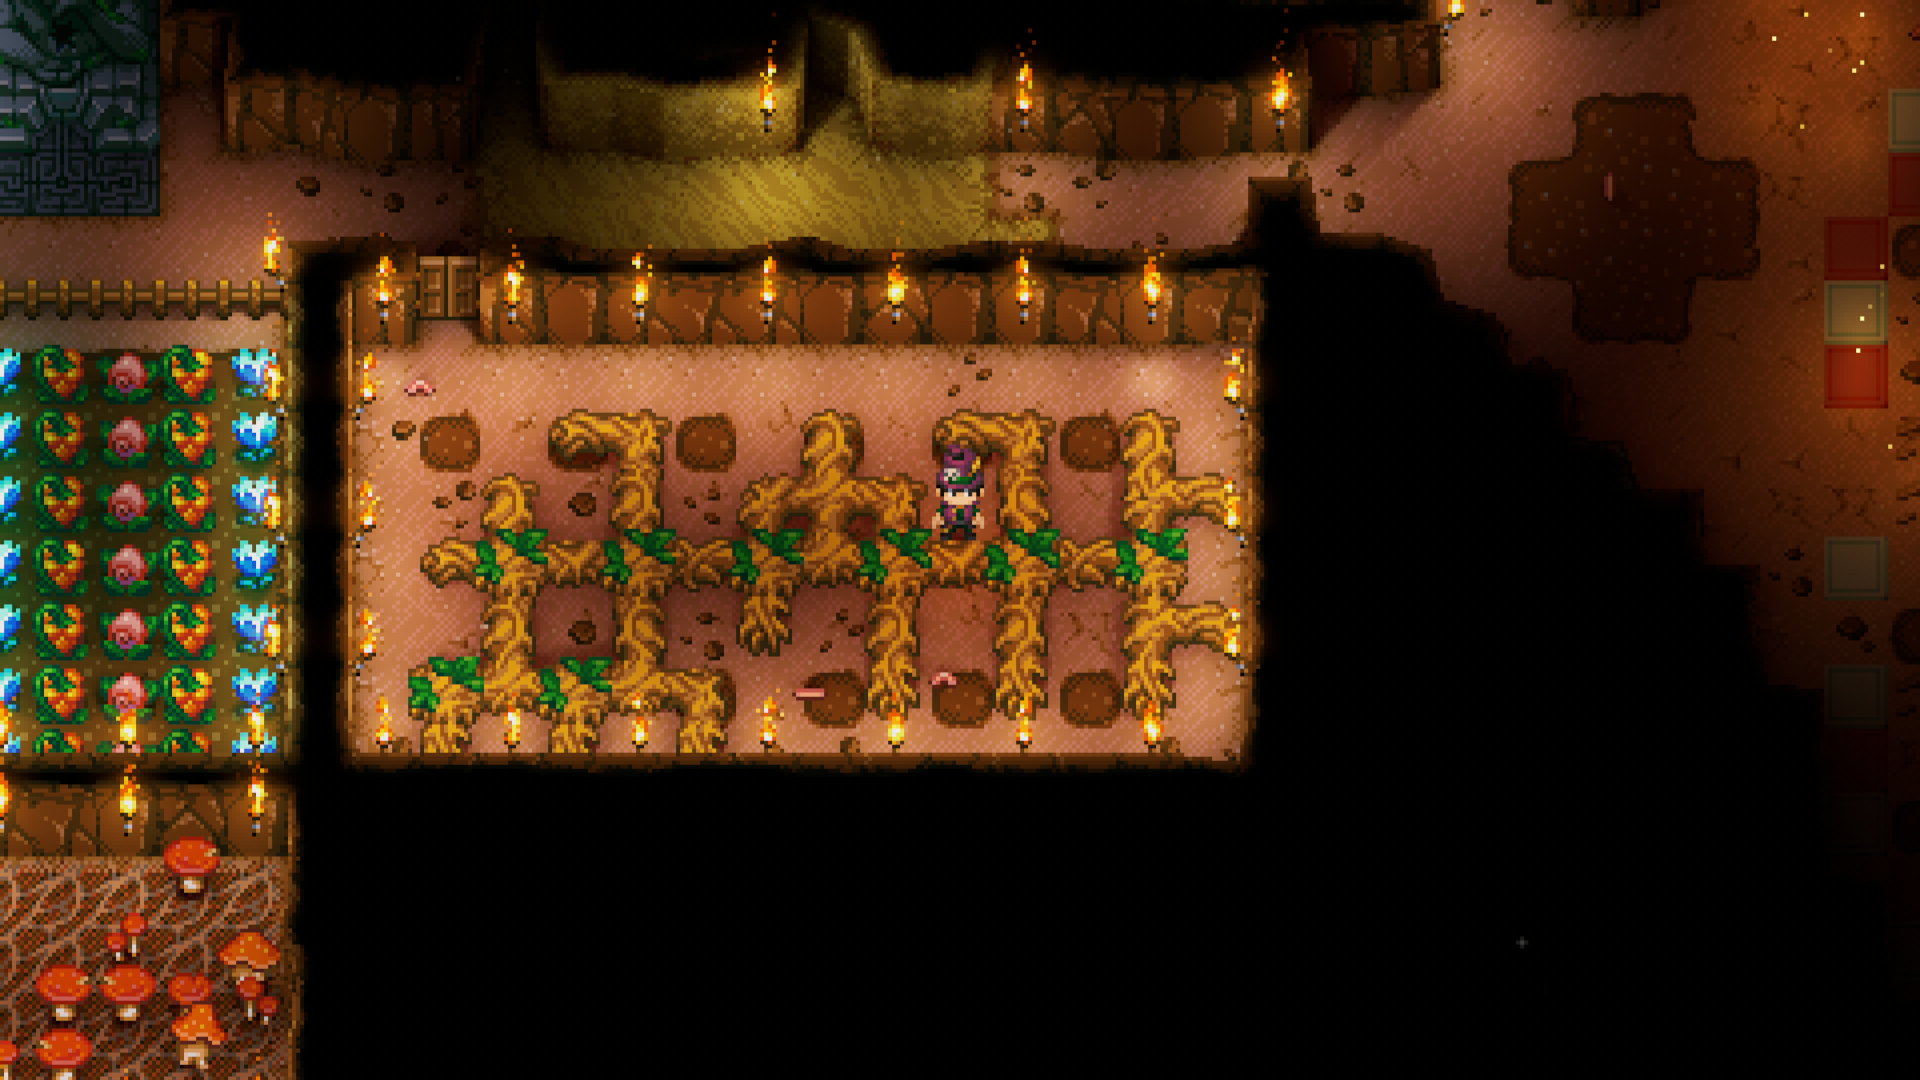
This is also a good time to plant the Root Seeds you’ve been saving.
Root Seeds work similarly to crop seeds at first—you’ll need to plow a ground tile and water the seedling. But from there, roots grow in random directions, making an enclosed space ideal for containing them. Keep in mind:
- Roots won’t grow on Sand—make sure the room uses Dirt ground tiles.
- Only the tile where you plant the seed needs to be plowed—you don’t need to plow the entire room.
- For better growth, plant them in alternating patterns, as placing Root Seeds side-by-side can limit how far the roots grow.
Bonus: Bringing Water to Your Base
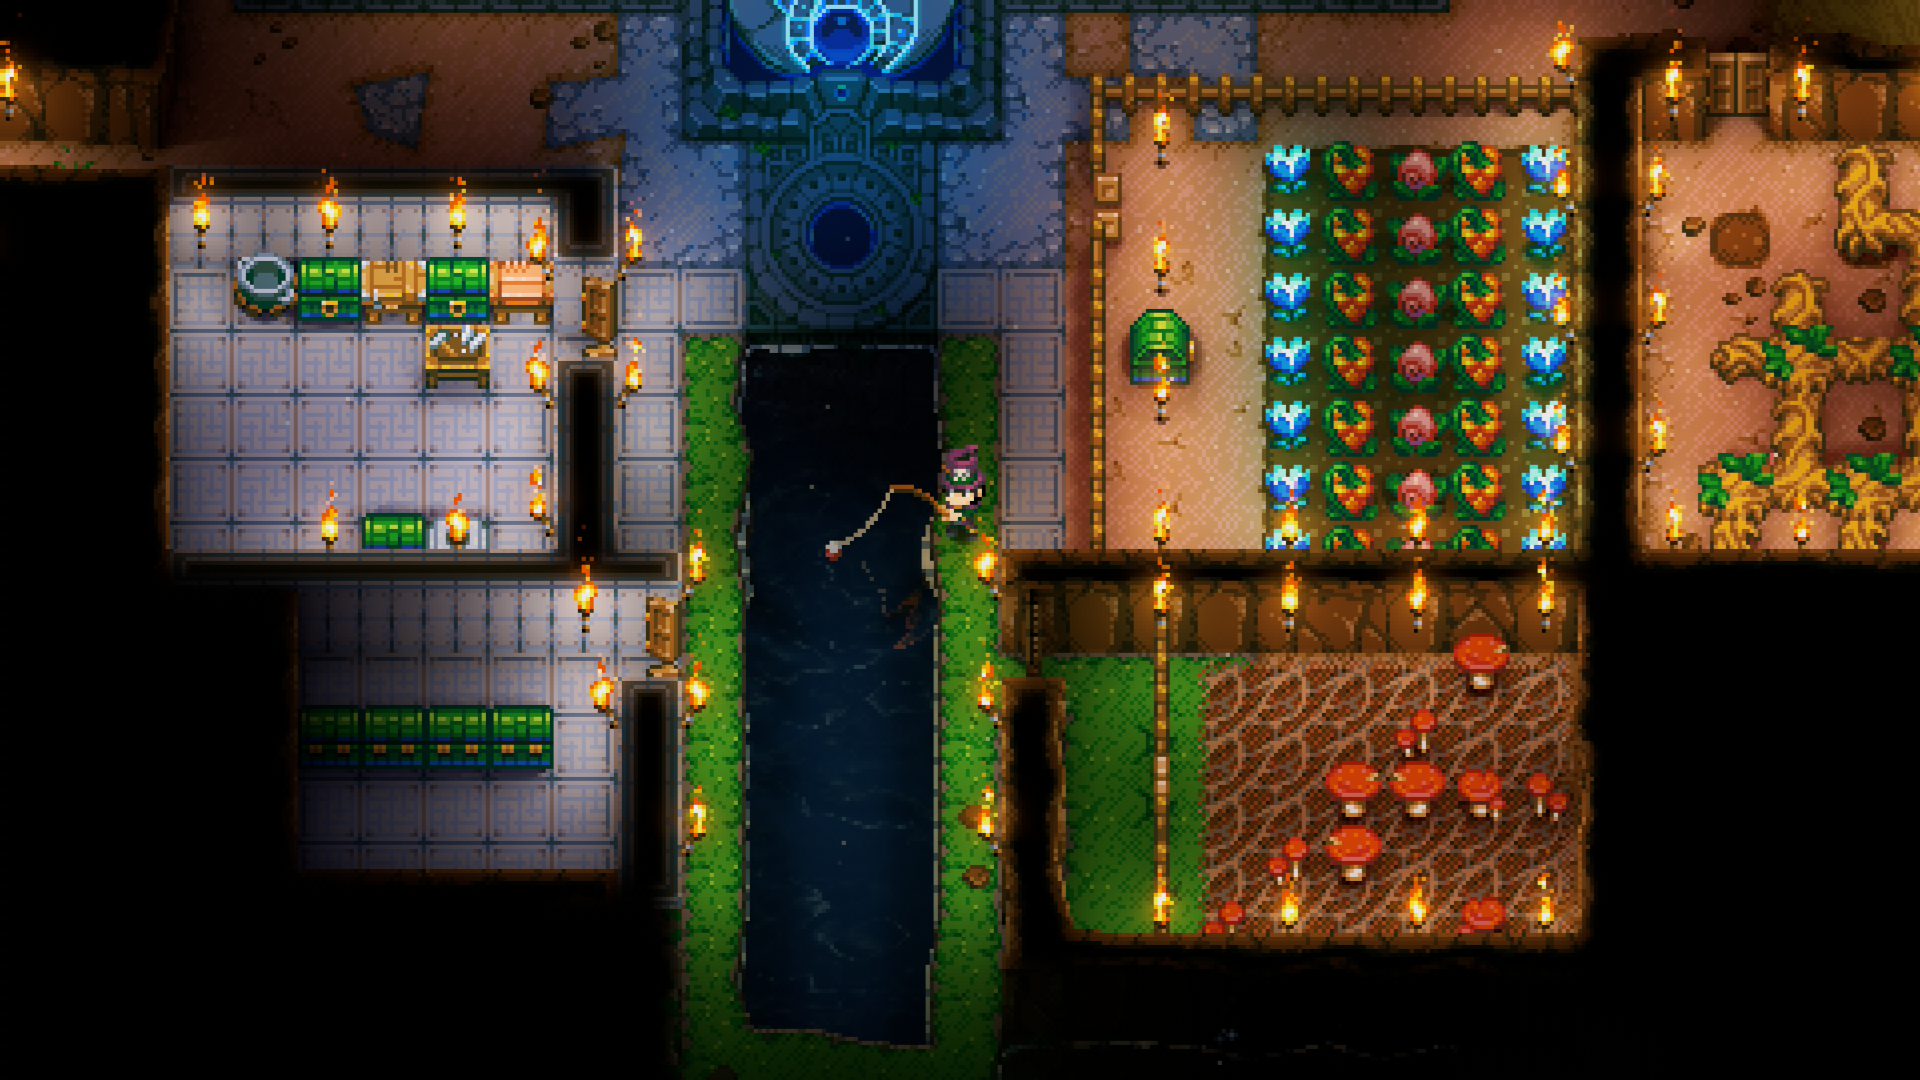
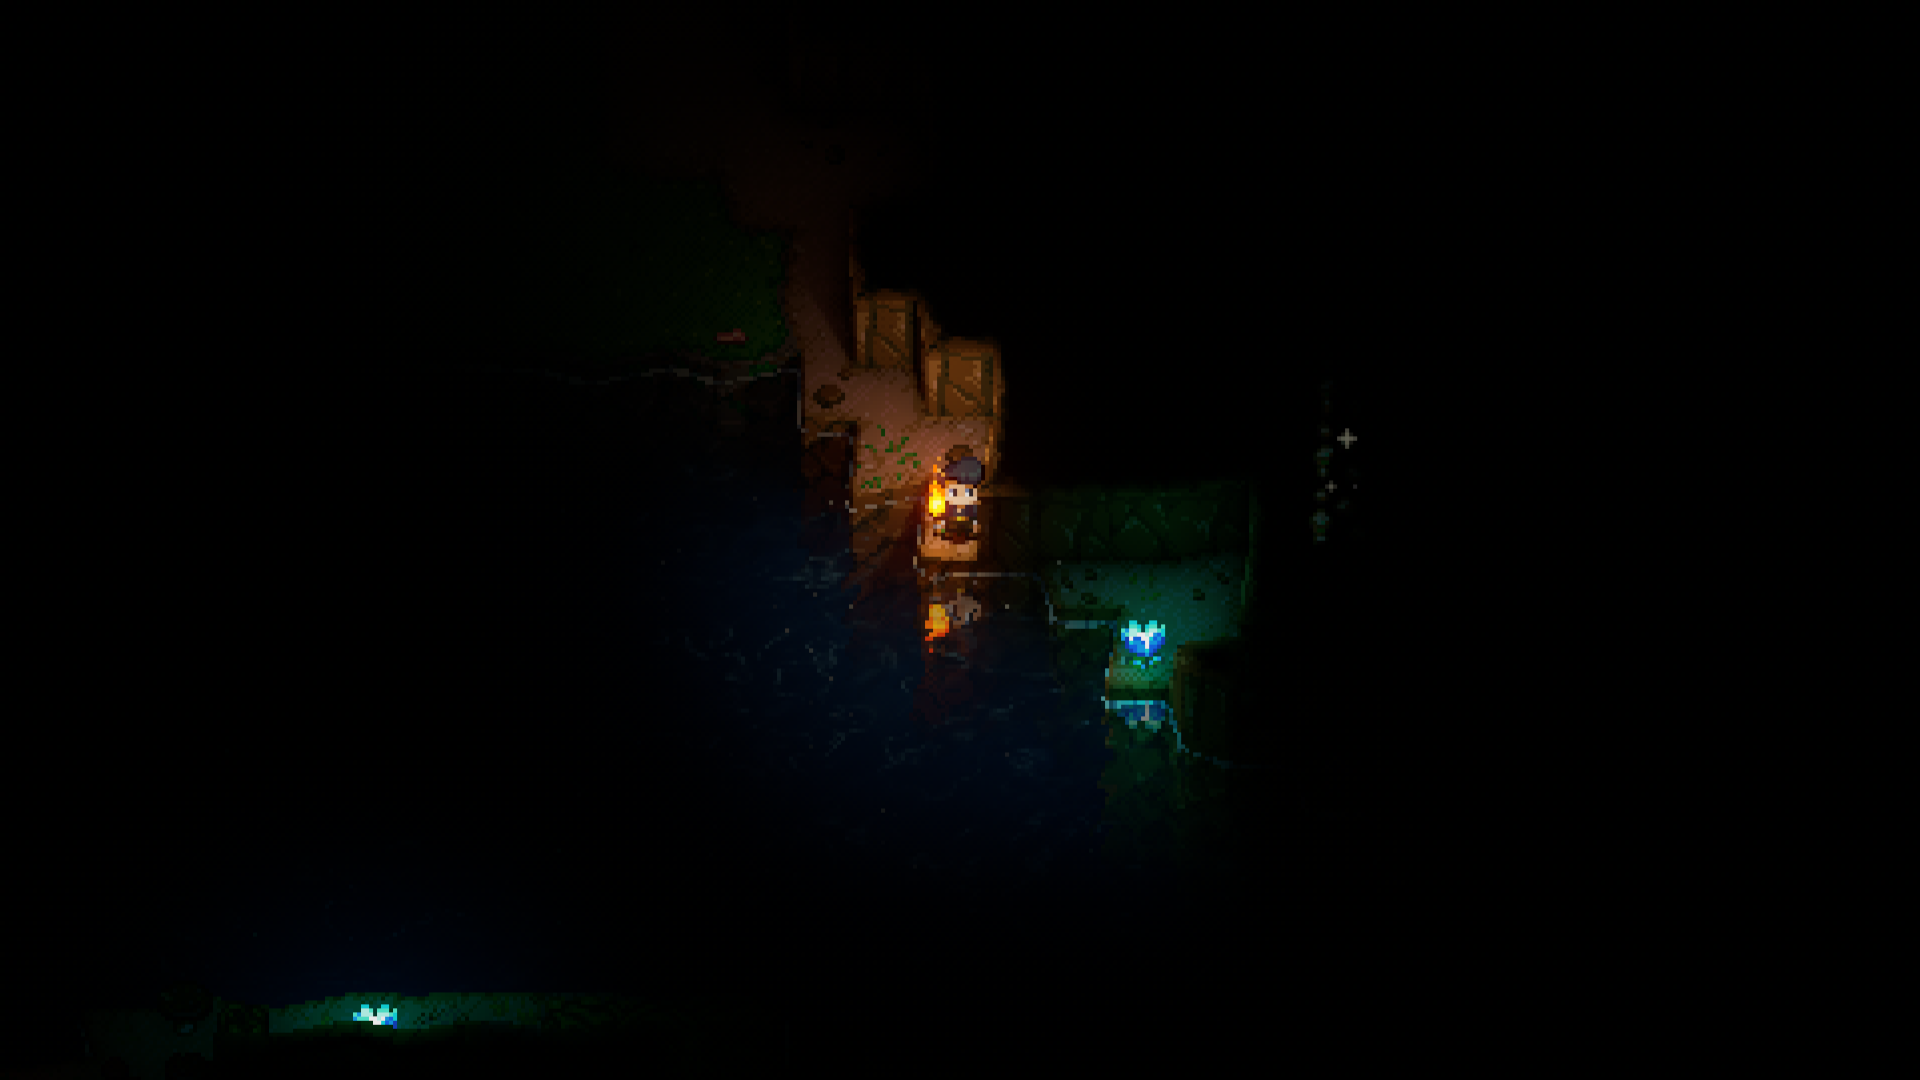
If the nearest water source feels a little too far—or if you just want to spruce up your base with a cozy fishing spot—you can create a small pond right at home. It’s a nice quality-of-life upgrade that adds both function and flair.
The process is simple but can take a bit of time, depending on how far away the water tiles are. Using a shovel, dig up a ground tile directly next to an existing water tile. The water will automatically spread into the empty space. Keep repeating this step, digging a tile at a time, and the water will gradually flow closer to your base.
Once you’ve brought the water where you want it, you can even clean up the path it took to get there. Just select a block (like Dirt) from your quick-slot inventory and right-click over the unwanted water tiles to cover them back up.
And that’s it—you now have a personal fishing pond and water source right at your doorstep.
The World Awaits
With this starting base up and running, you now have a solid foundation to thrive in Core Keeper. You’ve built a sustainable food supply, unlocked essential crafting stations, and geared up with tools and weapons that will carry you through the early game.
But more than that, this base gives you a safe and central hub to return to—a launching pad for deeper exploration, boss encounters, and future upgrades. Whether you’re planning to automate your farms, set up teleporters for fast travel, tame creatures, or expand into your favorite biomes, everything starts here.
From this point onward, your adventures will get bolder, your builds will get fancier, and your skills will keep growing. So take your time, enjoy the journey, and don’t be afraid to experiment.
Good luck, and have fun!